- Loading...
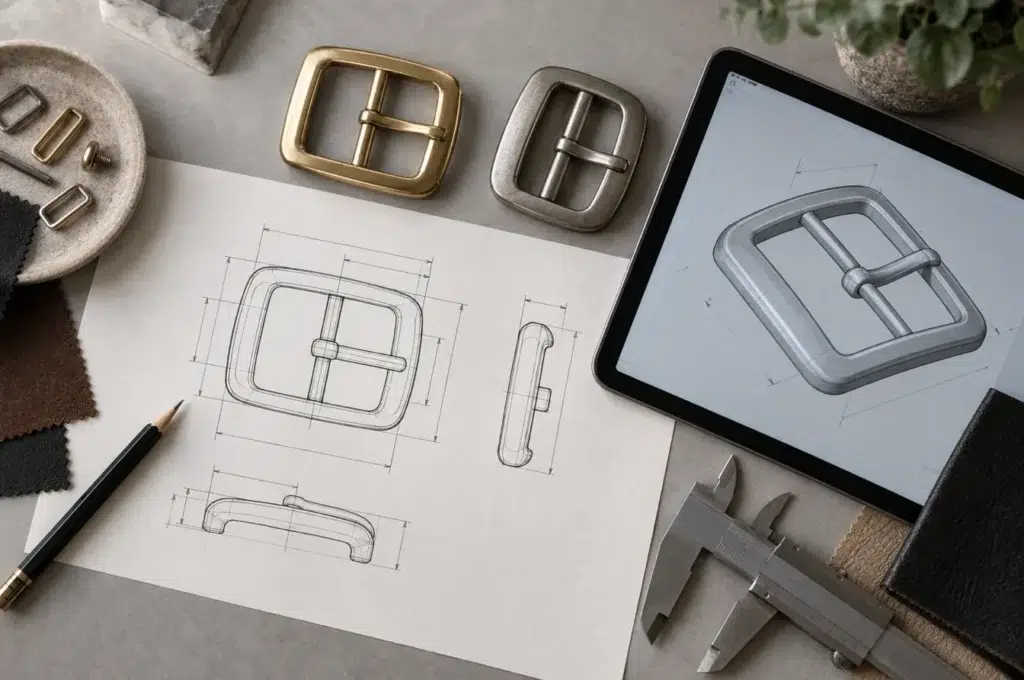
A miniature metal logo can sharpen a garment’s identity, but the wrong scale, weight, edge, or attachment can weaken the entire design.
Fashion brands can customize small metal logo tags by coordinating placement, dimensions, metal, logo technique, finish, and attachment with the garment itself. The best result is not simply a reduced logo plate; it is a lightweight component engineered for the fabric, silhouette, wearing experience, and production process.
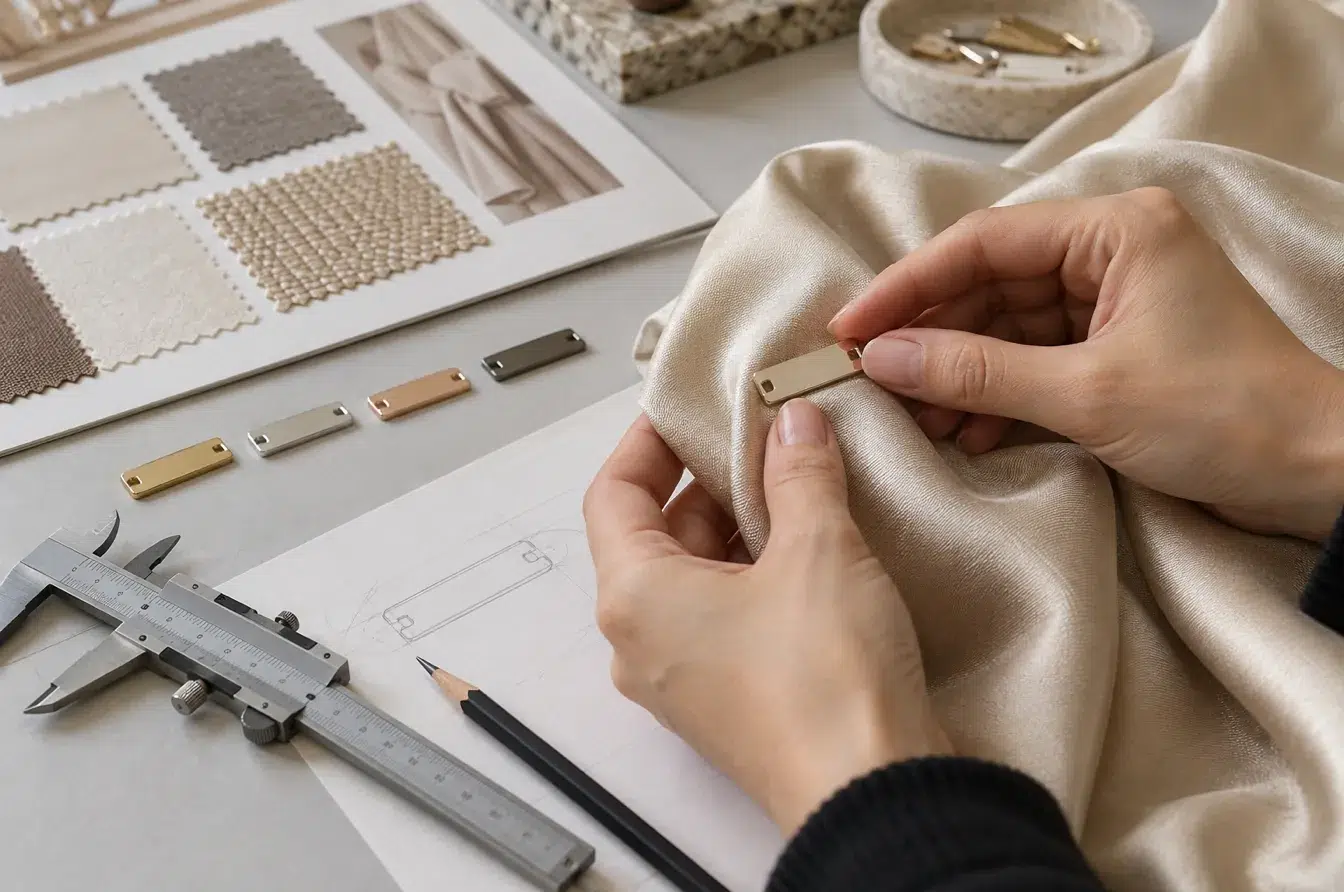
I have seen refined logo artwork lose its value when the finished tag pulls a soft hem, catches a lining, or becomes unreadable after reduction. Starting with the garment keeps every later decision grounded in actual use.
Where Should Small Metal Logo Tags Be Placed on Women’s Clothing?
A tag can look balanced on a drawing and still feel intrusive once the garment moves, folds, stretches, and touches the body.
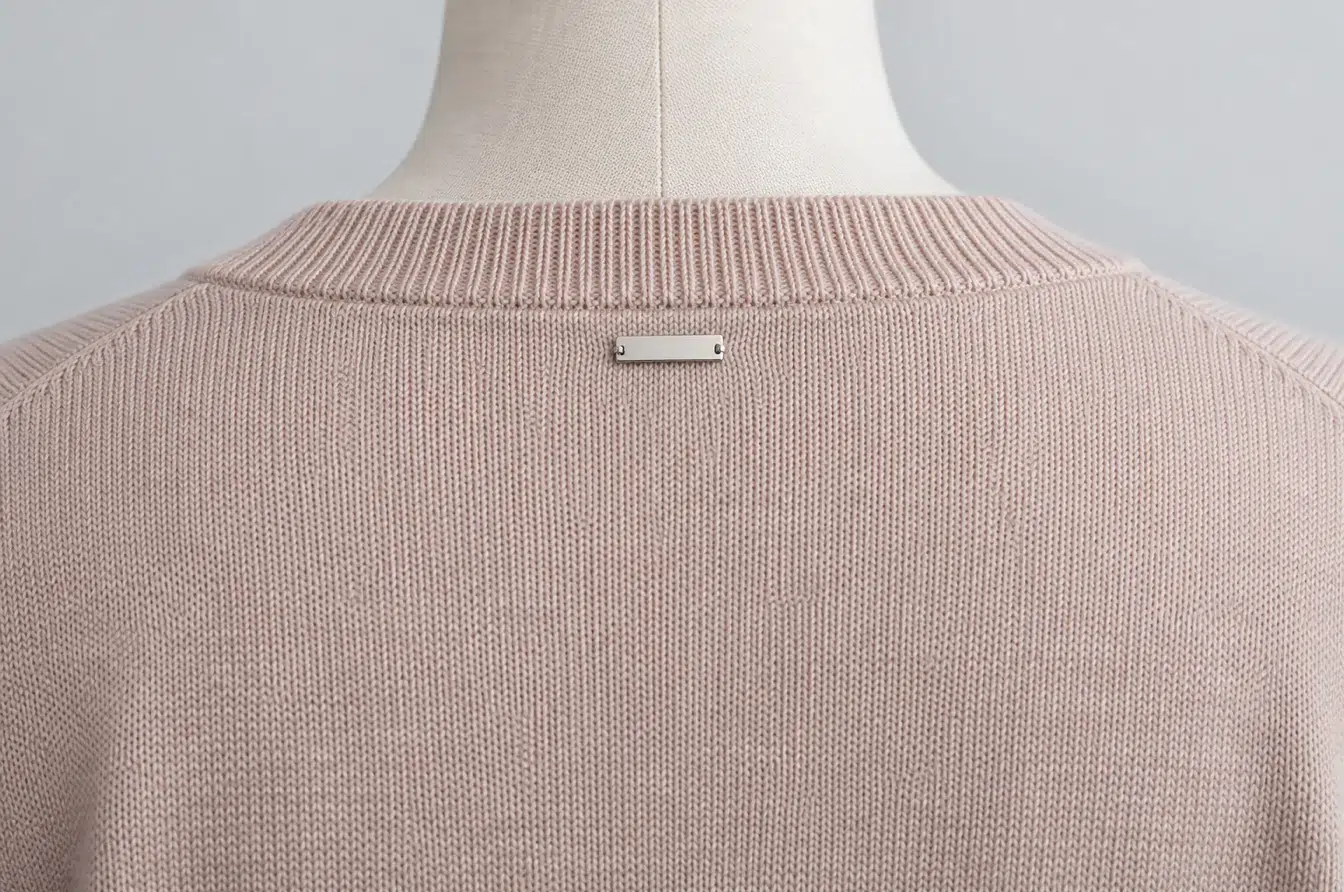
Suitable placements include hems, pocket edges, cuffs, waistbands, collars, back necks, and decorative panels. The final position should provide enough support for the tag, preserve garment drape, avoid uncomfortable skin contact, and keep the logo visible without competing with the overall design.
Placement Determines the Tag’s Physical Requirements
Placement is the first engineering decision because it controls the scale, attachment, and acceptable weight of the tag. A small plate placed at the hem of a fluid dress needs a different construction from one mounted on a denim pocket. The dress hem moves freely and may reveal both sides of the component, so a low-profile tag with smooth edges and a clean reverse is important. The denim pocket can support more mass and may accept a riveted or pronged construction.
The garment should be reviewed in motion rather than flat on a worktable. A tag near the waist may press against the body while sitting or bending. A tag near a cuff can strike a table, catch jewelry, or rub against the opposite hand. A back-neck tag may touch hair and skin, while a side-seam tag can twist if the fabric lacks reinforcement. These interactions are easy to miss in a front-view rendering.
Visibility must also be intentional. A discreet logo at a side hem can support quiet branding, while a shaped monogram on a pocket or waistband can become part of the collection’s visual language. Neither approach is automatically stronger. The tag should occupy the amount of attention intended by the garment design.
| Placement | Main design opportunity | Main development risk | Useful construction direction |
|---|---|---|---|
| Bottom hem | Subtle signature detail | Swinging, twisting, or pulling the hem | Thin sew-on plate or lightweight fold-over form |
| Pocket edge | Clear exterior visibility | Distortion around the attachment | Sew-on, prong, or rivet with local support |
| Cuff | Repeated visibility during movement | Impact, snagging, or wrist discomfort | Rounded low-profile tag |
| Waistband | Strong brand position | Pressure against the body | Smooth back and controlled thickness |
| Back neck | Familiar branding location | Hair or skin contact | Very smooth edges and secure stitching |
| Structured panel | Supports statement branding | Excess visual weight | Custom shape with aligned backing structure |
Develop the Tag and Garment Construction Together
The selected position should appear on the technical drawing with actual dimensions, orientation, edge distance, and attachment points. The fabric layers beneath the tag must also be shown. A single layer of satin, a fused waistband, a lined coat panel, and a denim pocket have different resistance to pulling and puncture.
Reinforcement may be required, but it should remain proportionate. A large backing patch can stiffen an area that was intended to drape softly. A small support layer placed only behind the fixing points may control distortion without changing the garment silhouette. Stitch direction, thread color, fold allowance, seam access, and the order of garment assembly also influence whether the tag can be installed consistently.
The most reliable placement decision comes from mounting several actual-size mockups on the development sample. This reveals whether the tag remains level, whether the logo is visible in normal wear, whether the fabric puckers, and whether the reverse side feels clean. A few centimeters of movement can solve a problem that no change in metal finish could correct.
What Size and Thickness Keep a Metal Logo Tag Lightweight and Comfortable?
Reducing length and width does not automatically create a refined miniature tag; thickness, profile, edge radius, and artwork density must shrink coherently.
The correct dimensions depend on logo complexity, garment weight, placement, and attachment. A successful small tag preserves readable branding with the least unnecessary metal, uses a thickness that resists unwanted bending, and maintains smooth contact surfaces that do not pull fabric or press against the wearer.
Treat Size, Thickness, and Weight as One System
Length and width define the visible footprint, but thickness and back construction often determine how the tag feels. A very small plate can still feel heavy if it is unnecessarily thick or has a bulky fixing system. A wider but thinner tag may distribute its weight more evenly and sit flatter against the garment. The complete section should therefore be assessed rather than relying on one headline dimension.
Garment category provides the starting point. Lightweight blouses, knit dresses, lingerie-inspired tops, scarves, and soft skirts usually require restrained mass and a low profile. Tailored jackets, denim pieces, belts, and structured outerwear can accept a more substantial component. Even in these stronger categories, thickness should create a deliberate visual edge rather than serve as a shortcut for perceived quality.
Corners and openings need equal attention. Tight outside corners can feel sharp even when no visible burr is present. Stitching holes positioned too close to the edge may weaken the tag, while holes that are too small can limit thread choice and slow assembly. The reverse side should remain free from raised marks or projections that can abrade fabric.
| Dimension decision | What it controls | Warning sign during review |
|---|---|---|
| Length and width | Logo footprint and visual proportion | Tag dominates a seam, cuff, or narrow panel |
| Thickness | Rigidity, edge presence, and mass | Plate feels bulky beside the fabric |
| Corner radius | Comfort and snag resistance | Corners catch thread, lining, or skin |
| Hole size and spacing | Sewing method and attachment stability | Thread cannot pass cleanly or the tag rotates |
| Back-profile height | How closely the tag sits to the garment | Visible gap, rocking, or pressure point |
| Total weight | Drape and movement | Fabric sags, twists, or loses alignment |
Protect Logo Legibility at Actual Size
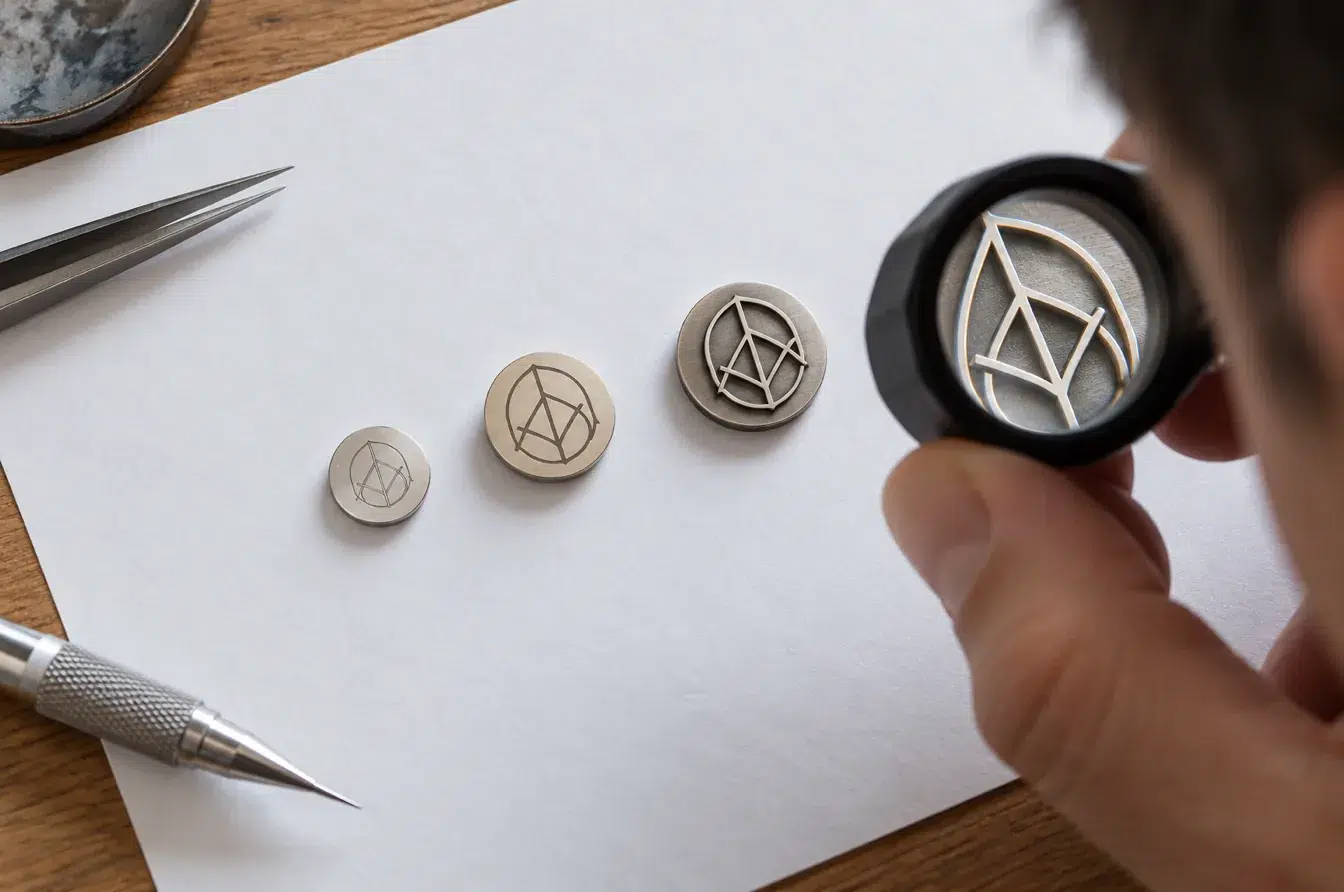
Miniaturization creates a separate artwork problem. Fine strokes, narrow counters, close letter spacing, and secondary text can merge when translated into cast, stamped, engraved, or filled metal. A logo that remains readable on a large screen may lose its character when printed at the tag’s intended dimensions.
The artwork should be reviewed at 1:1 scale, not only enlarged. Critical line widths, internal spaces, relief depth, and the distance between separate elements should be checked against the selected production method. Dense wording may work better as engraving or debossing, while a bold monogram can support raised relief. A cut-out design needs strong enough connections between letters and shapes to survive finishing, handling, and sewing.
Removing minor detail is often more effective than increasing the tag. Secondary wording, very thin outlines, and tiny decorative marks can be simplified while the main silhouette and letter rhythm remain recognizable. This is not a loss of brand identity. It is an adaptation of the identity to a new material and scale. The physical sample should be viewed from normal garment distance as well as under close inspection.
Which Metal and Finish Best Match Different Women’s Clothing Styles?
Metal names alone do not create a premium result because the manufacturing process, geometry, surface preparation, and finish determine how the component is experienced.
Zinc alloy supports detailed cast shapes and broad finish options, brass offers warm material character, stainless steel suits clean modern profiles, and aluminum can reduce weight. The best combination should match the garment’s style, required detail, target mass, surface appearance, and expected handling.
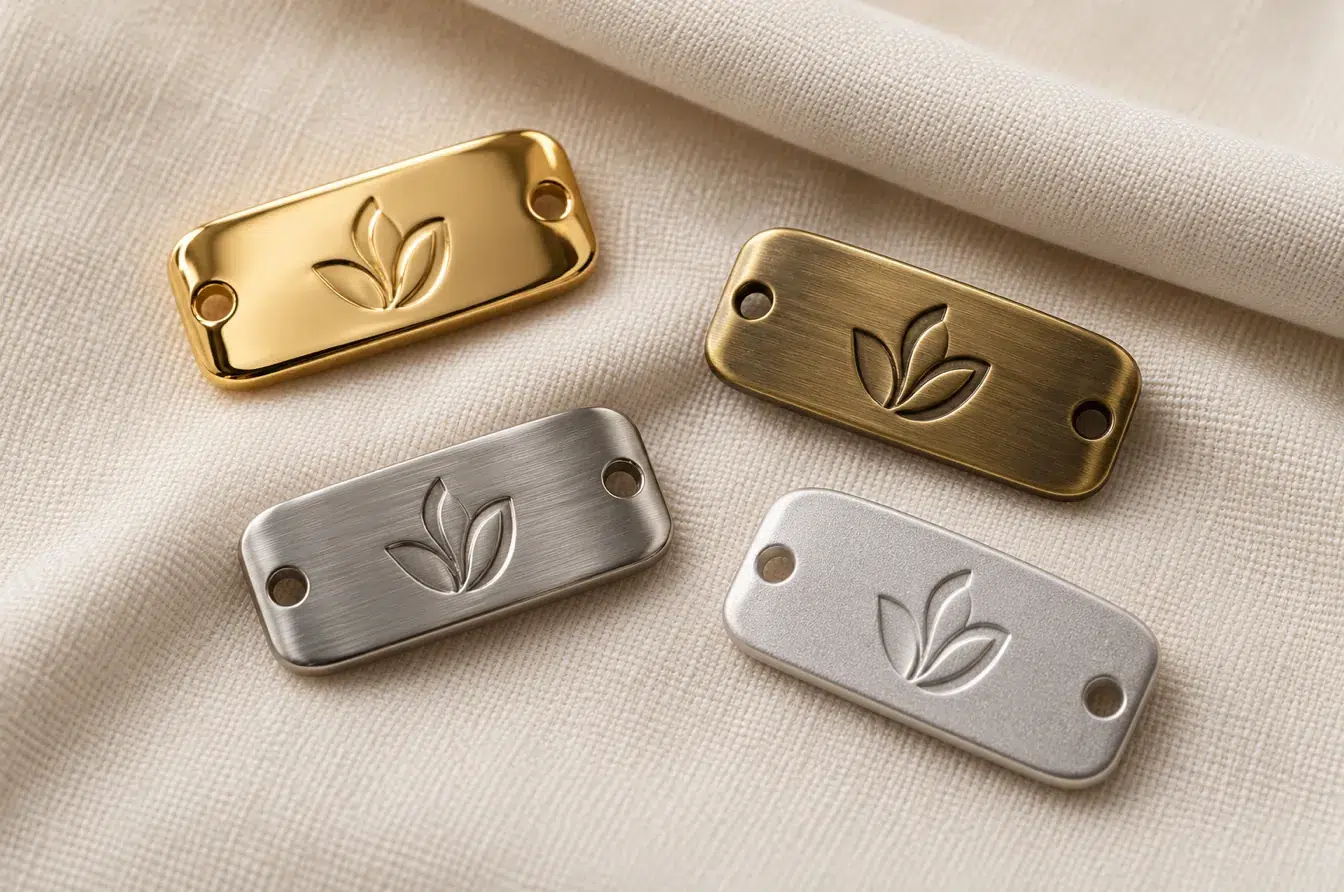
Select the Metal Through the Intended Manufacturing Route
Zinc alloy is a practical starting point for custom shapes, raised or recessed logos, sculpted borders, and integrated fixing features. It can reproduce complex forms efficiently when a dedicated mold is justified. The finished appearance usually depends on polishing, plating, painting, enamel, or another controlled surface treatment, so the tag can move across bright, dark, antique, or colored directions.
Brass brings a naturally warm metal character and works well for restrained plates, engraved logos, stamped forms, and details intended to feel jewelry-like. It can be polished, brushed, aged, or protected depending on the desired visual story. Its greater material presence can be valuable on compact signature pieces, but mass should be checked carefully on light garments.
Stainless steel fits clean, crisp, and contemporary designs. Thin profiles, etched or engraved marks, and brushed or polished silver surfaces can support minimal branding. Aluminum is useful when a larger visible area must remain light, although its surface and edge treatment still require careful development. No material should be selected from reputation alone; the same metal can feel refined or ordinary depending on proportion, process, and finish control.
| Design direction | Useful metal starting point | Compatible visual language | Main point to confirm |
|---|---|---|---|
| Sculpted monogram or relief | Zinc alloy | Dimensional, decorative, fashion-led | Fine-detail reproduction and polishing access |
| Warm understated plate | Brass | Classic, jewelry-like, heritage-inspired | Weight and intended surface change |
| Thin modern nameplate | Stainless steel | Minimal, technical, contemporary | Edge softness and mark clarity |
| Larger lightweight logo | Aluminum | Clean, graphic, restrained | Dent resistance and finish uniformity |
| Colored logo detail | Suitable plated or coated metal | Seasonal, expressive, collection-specific | Color separation and surface consistency |
Approve Finish as a Complete Visual Standard
A finish description such as gold, rose gold, gunmetal, matte black, brushed silver, or antique brass is only a direction. Base metal, polishing, texture, logo relief, coating sequence, and lighting can change how that finish appears. Two parts carrying the same color name may look unrelated when placed on the same garment.
The finish sample should be compared with the actual fabric, lining, thread, zipper, buttons, and other visible trims. Warm gold may become too yellow beside cool white satin. A dark gunmetal tag can disappear on black fabric if the logo lacks enough contrast. A mirror surface may suit eveningwear but reveal fingerprints and minor surface variation more readily than a satin texture.
Approval records should identify the base metal, finish tone, gloss level, texture direction, logo contrast, and acceptable variation. The reverse side and edges also need inspection because these zones can expose a different color or texture. When several hardware items form one family, all samples should be reviewed together under consistent lighting. Matching the garment’s design language is more important than selecting the most decorative finish available.
Which Attachment Method Works Best for Delicate, Stretch, or Structured Fabrics?
The visible face attracts attention, but the hidden attachment decides whether the tag stays level, protects the textile, and remains comfortable in wear.
Sew-on holes are often suitable for soft or delicate garments, while prongs, rivets, and backing plates can support structured fabrics. The final method must match the complete material stack, allow consistent assembly, distribute stress, and prevent rotation, puckering, abrasion, or pressure on the reverse side.
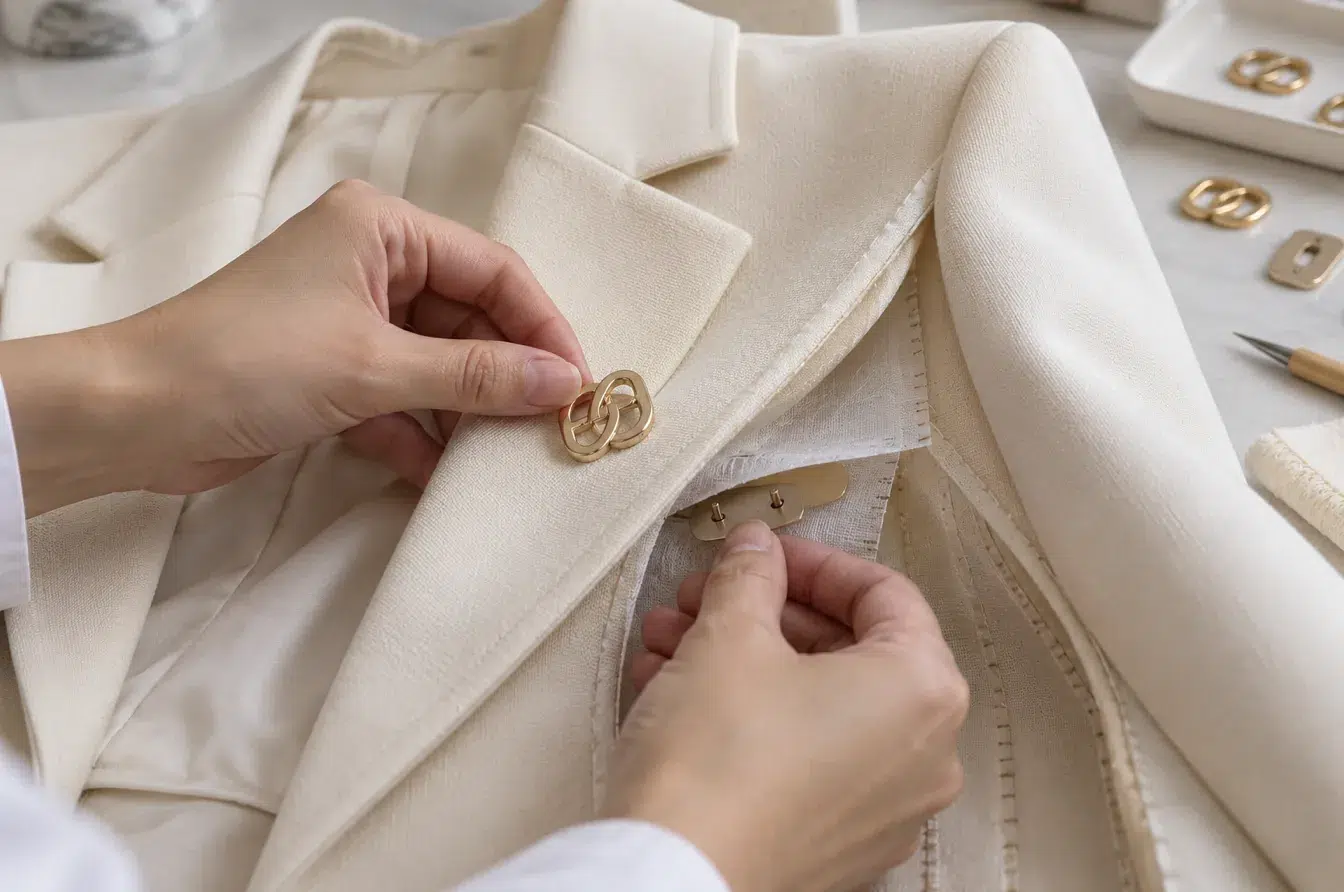
Match the Fixing Method to Fabric Behavior
Sew-on tags offer flexibility because thread can move slightly with the textile. Two balanced holes usually control rotation better than a single hole, and the stitch can be selected to coordinate with the garment. This method is useful for soft woven fabrics, knits, linings, and areas where piercing the material with a rigid post would create too much stress. Hole edges must be smooth so they do not cut thread during wear or washing.
Prongs and bendable legs create a clean exterior because the fixing remains hidden. They work best when the fabric stack has enough body or reinforcement to resist concentrated pressure. The leg length must match the total thickness, and the folded ends should lie flat without creating a hard point. Rivets can produce a strong, purposeful detail on denim, leather, coated textiles, and structured panels, but hole preparation and setting pressure must be controlled.
Backing plates distribute force and can stabilize shaped or heavier logos. Adhesive can assist positioning in certain constructions, but it should not be assumed to replace a mechanical attachment when long-term security matters. The assembly route should be chosen with access in mind because some tags must be installed before the lining or panel is closed.
| Fabric or construction | Useful starting method | Main benefit | Main risk to inspect |
|---|---|---|---|
| Delicate woven fabric | Sew-on holes with light reinforcement | Flexible and repairable | Puckering or thread cutting |
| Stretch knit | Sew-on tag across a stabilized area | Allows controlled movement | Local stretch restriction or waviness |
| Denim or heavy twill | Rivet or reinforced prong | Strong attachment and clear styling | Hole damage or excessive setting pressure |
| Tailored panel | Prong with backing plate | Clean face and stable alignment | Reverse-side pressure or lining abrasion |
| Leather or coated material | Rivet, screw, or suitable prong | Secure fixing through a defined thickness | Incorrect post length or surface marking |
| Lined garment | Method installed before closing | Concealed and comfortable reverse | Poor assembly access or trapped hardware |
Evaluate the Complete Fabric Stack
Attachment trials should reproduce the production construction, including shell fabric, fusible, backing, padding, seam allowance, lining, and stitching. Testing a prong on a single fabric swatch gives little information when the finished panel contains several layers. The installed component should be checked from the front, back, and side.
Front inspection should look for puckering, rotation, uneven seating, gaps, and finish damage caused during installation. Reverse inspection should check exposed ends, rough edges, thread security, backing alignment, and contact with lining or skin. Side inspection reveals whether the tag sits flat or rocks because the posts, holes, or backing are mismatched.
Movement matters as much as appearance. The sample garment should be worn, folded, stretched within its intended range, and handled through its normal dressing motion. A securely fixed tag can still fail if it restricts stretch, changes a soft fold, or creates noise against another component. The best attachment is the one that becomes visually and physically integrated with the garment rather than behaving like an added object.
What Should Be Checked During Sampling Before Bulk Production?
A digital rendering can confirm the concept, but it cannot reveal actual weight, edge feel, fabric response, finish variation, or attachment behavior.
Sample approval should cover logo accuracy, dimensions, weight, edges, finish, attachment, garment fit, handling, and care performance. The final reference must be a production-intent tag installed on the intended garment construction, supported by a clear specification that prevents unapproved changes during production.
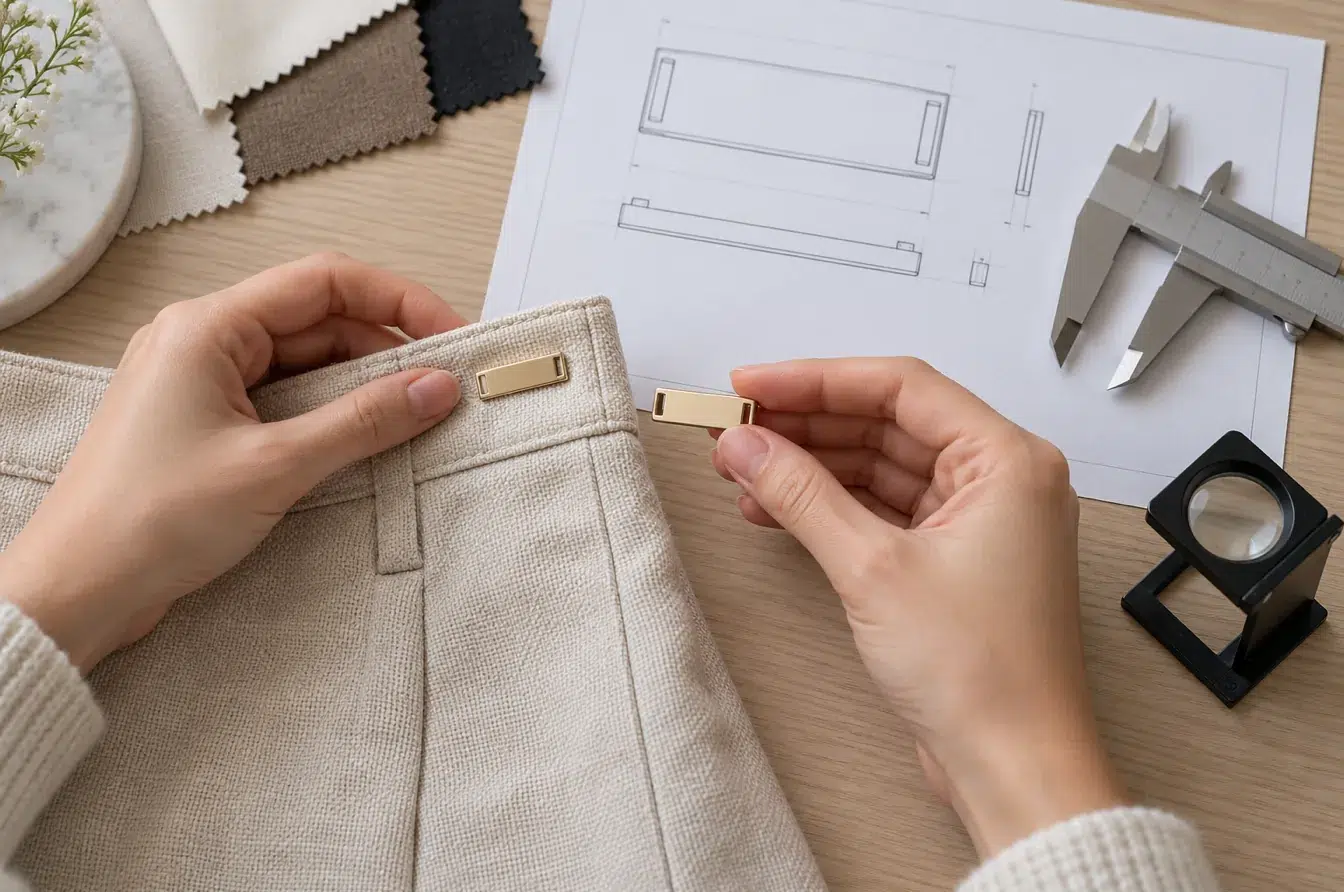
Approve the Installed Component, Not Only the Loose Tag
The loose sample remains useful for checking metal quality, logo clarity, dimensions, surface finish, and reverse construction. It should be inspected under consistent light from several angles because shallow relief, fine engraving, and polishing marks can change with reflection. Fingers should pass carefully around the perimeter, holes, and back to detect sharpness, burrs, or uneven transitions.
The next step is installation on the development garment. This exposes weight, drape, alignment, distortion, and comfort. The logo should remain level in the garment’s normal resting position and during movement. Stitching or setting should not damage the finish, and the surrounding fabric should remain smooth. Pale fabrics should be checked for surface transfer after handling and the intended care routine.
Practical trials should follow the garment’s expected use. These may include repeated dressing movement, bending or stretching around the placement, dry rubbing, controlled washing, and inspection after drying. The purpose is not to create one universal test program. It is to reveal the most likely failure modes for that garment before quantity production makes correction expensive.
| Approval area | What to inspect | Common reason for rejection |
|---|---|---|
| Logo | Shape, spacing, depth, and legibility | Filled counters, weak strokes, or distorted lettering |
| Dimensions | Length, width, thickness, and hole position | Incorrect scale or poor alignment with the garment |
| Edges and back | Smoothness, radii, and clean contact surfaces | Burrs, sharp corners, or raised marks |
| Finish | Tone, gloss, texture, and coverage | Color drift, cloudiness, pits, or exposed edges |
| Attachment | Seating, security, and reverse-side condition | Rotation, loose fixing, puckering, or abrasion risk |
| Garment behavior | Drape, stretch, balance, and comfort | Pulling, twisting, pressure, or restricted movement |
| Care behavior | Appearance and security after intended care | Dulling, transfer, loosening, or fabric damage |
Freeze a Production-Ready Specification
Approval is incomplete until the accepted sample is translated into a controlled specification. The file should include editable vector artwork, actual dimensions, tag weight where important, base metal, manufacturing method, logo treatment, finish description, gloss or texture, attachment structure, fixing dimensions, placement, and packaging method. Front, side, and rear drawings prevent the hidden construction from being changed without review.
The document should also define which surfaces are visually critical and what variation is acceptable. A small mark on a concealed back may have no effect, while a bright scratch across the logo face is immediately visible. Color should be controlled with an approved physical reference rather than a name alone. The installed garment sample should be retained alongside the loose reference component.
Changes after approval require discipline. Adjusting size can alter logo legibility, mass, hole spacing, and mold requirements. Changing the base metal or finish process can affect color and surface behavior. Modifying a prong or rivet can change the fit through the garment layers. These variables should not be substituted independently. A stable result comes from treating the approved tag, drawing, finish sample, and garment application as one connected production standard.
Conclusion
Small metal logo tags succeed when branding, material, comfort, attachment, and garment construction are developed together and confirmed on a production-intent sample.