- Loading...
Buttons look small, but one wrong size can distort fit, weaken closure, and lower the value of a finished garment.
Button engineering means measuring diameter, depth, passage clearance, material behavior, and garment category together before we approve a size for production.
I treat the button as a working component, not as a late decoration. When I choose a button, I check the measurement system, the fabric, the buttonhole, the garment category, the material language, and the supplier control plan. This guide shares the method I use when a button must support both design intent and production stability.
How Should We Measure Button Size Beyond Diameter?
A button can pass a size chart and still fail on a garment if I only measure its face diameter.
Button measurement should include Ligne conversion, diameter, depth, shank height, and the smallest passage section that must move through the buttonhole.
Ligne, Millimeters, and Inches
I start with Ligne because it is still the common commercial language for buttons. One Ligne equals 0.635 mm, or 1/40 inch. The system is often described in the button trade as rooted in early European line measures dating back to the ninth century, and it remains practical because it gives factories, designers, and sourcing teams one compact size code. When I say 24L, a button supplier, a pattern maker, and a garment technician can all understand the approximate physical size without a long explanation.
Still, I never stop at the code. I convert it into millimeters and inches before I place it on a technical sheet, because CAD patterns, cutting tables, and quality inspection tools usually work in metric or inch values. This also helps avoid mistakes when a brand team in Europe, a sample room in China, and a buyer in the United States review the same trim approval. The table below uses the standard formula: Ligne x 0.635 = millimeters, and Ligne / 40 = inches.
| Ligne | Millimeters | Inches |
|---|---|---|
| 12L | 7.62 mm | 0.300 in |
| 13L | 8.26 mm | 0.325 in |
| 14L | 8.89 mm | 0.350 in |
| 15L | 9.53 mm | 0.375 in |
| 16L | 10.16 mm | 0.400 in |
| 17L | 10.80 mm | 0.425 in |
| 18L | 11.43 mm | 0.450 in |
| 19L | 12.07 mm | 0.475 in |
| 20L | 12.70 mm | 0.500 in |
| 21L | 13.34 mm | 0.525 in |
| 22L | 13.97 mm | 0.550 in |
| 23L | 14.61 mm | 0.575 in |
| 24L | 15.24 mm | 0.600 in |
| 25L | 15.88 mm | 0.625 in |
| 26L | 16.51 mm | 0.650 in |
| 27L | 17.15 mm | 0.675 in |
| 28L | 17.78 mm | 0.700 in |
| 29L | 18.42 mm | 0.725 in |
| 30L | 19.05 mm | 0.750 in |
| 31L | 19.69 mm | 0.775 in |
| 32L | 20.32 mm | 0.800 in |
| 33L | 20.96 mm | 0.825 in |
| 34L | 21.59 mm | 0.850 in |
| 35L | 22.23 mm | 0.875 in |
| 36L | 22.86 mm | 0.900 in |
| 37L | 23.50 mm | 0.925 in |
| 38L | 24.13 mm | 0.950 in |
| 39L | 24.77 mm | 0.975 in |
| 40L | 25.40 mm | 1.000 in |
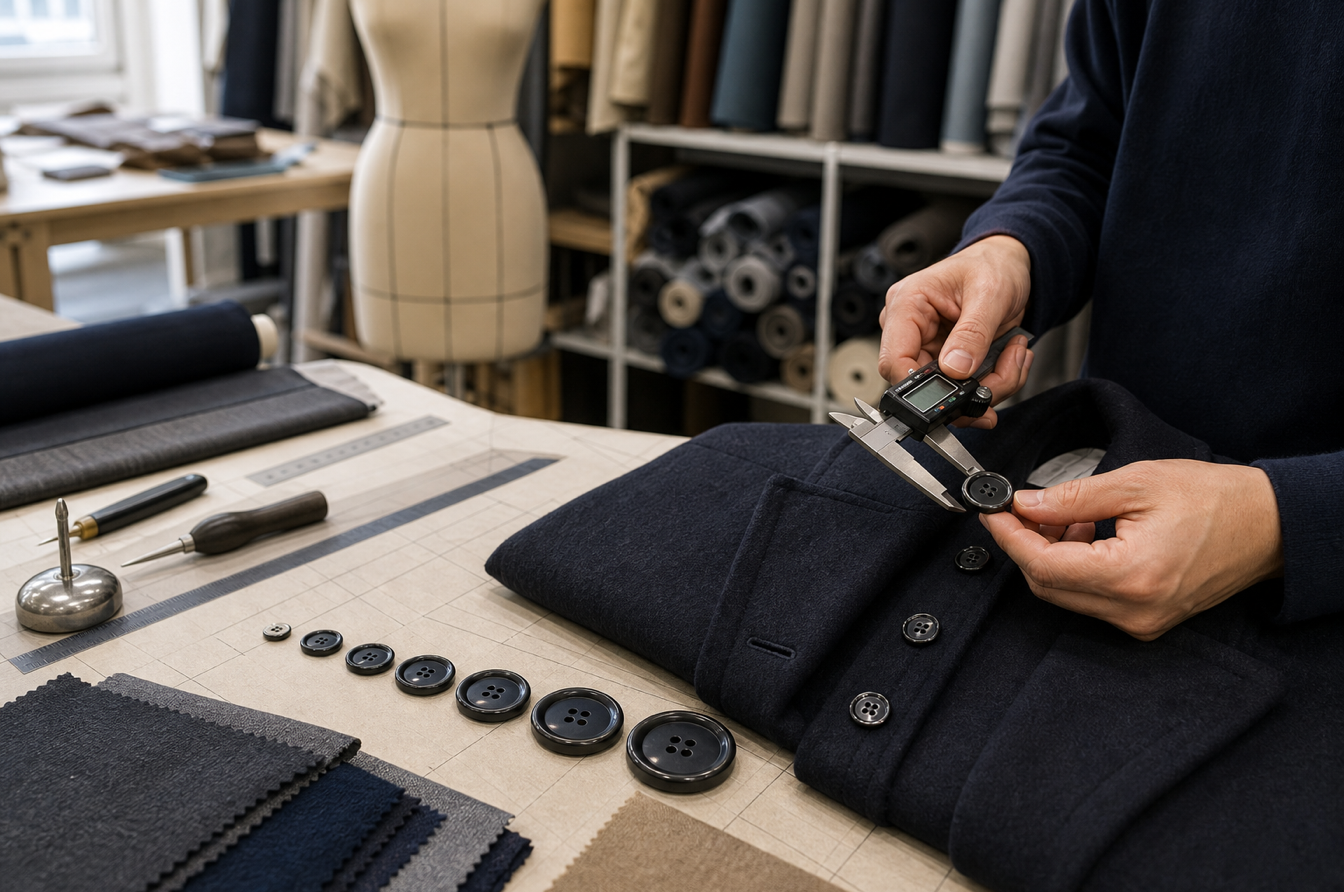
Diameter, Depth, and Passage Section
The diameter tells me how large the button looks from the front, but the depth tells me how the garment will behave after closure. A thick button can push the placket away from the body, change the roll of a jacket front, and create unwanted tension on a blouse or shirt. On stretchy fabric, extra depth can also stretch the buttonhole edge because the fabric must travel around more volume before it lies flat again. This is why I measure depth with the same seriousness as diameter.
For irregular buttons, I measure more than the longest side. Oval, rectangular, and organic shapes need a maximum face length for visual balance, but they also need a minimum passage section for the buttonhole. I ask one simple question: what is the smallest profile that must pass through the slit during fastening? If the button is long and narrow, I check whether it rotates easily through the hole. If it has a raised rim, faceted edge, or thick dome, I check whether that raised volume catches the buttonhole stitching.
| Measurement | Why I Check It | Tool |
|---|---|---|
| Face diameter or longest side | Visual scale and category standard | Digital caliper |
| Depth or dome height | Placket lift, stress, and hand feel | Digital caliper |
| Minimum passage section | Buttonhole function on shaped buttons | Caliper plus sample buttonhole |
| Shank height | Fabric clearance behind shank buttons | Caliper depth jaw |
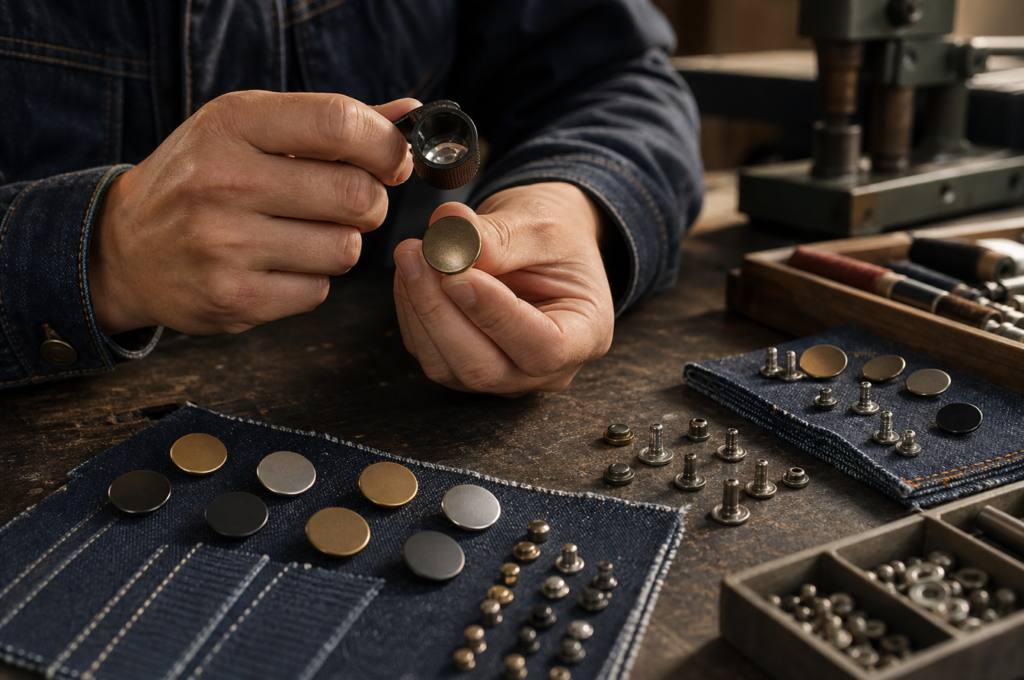
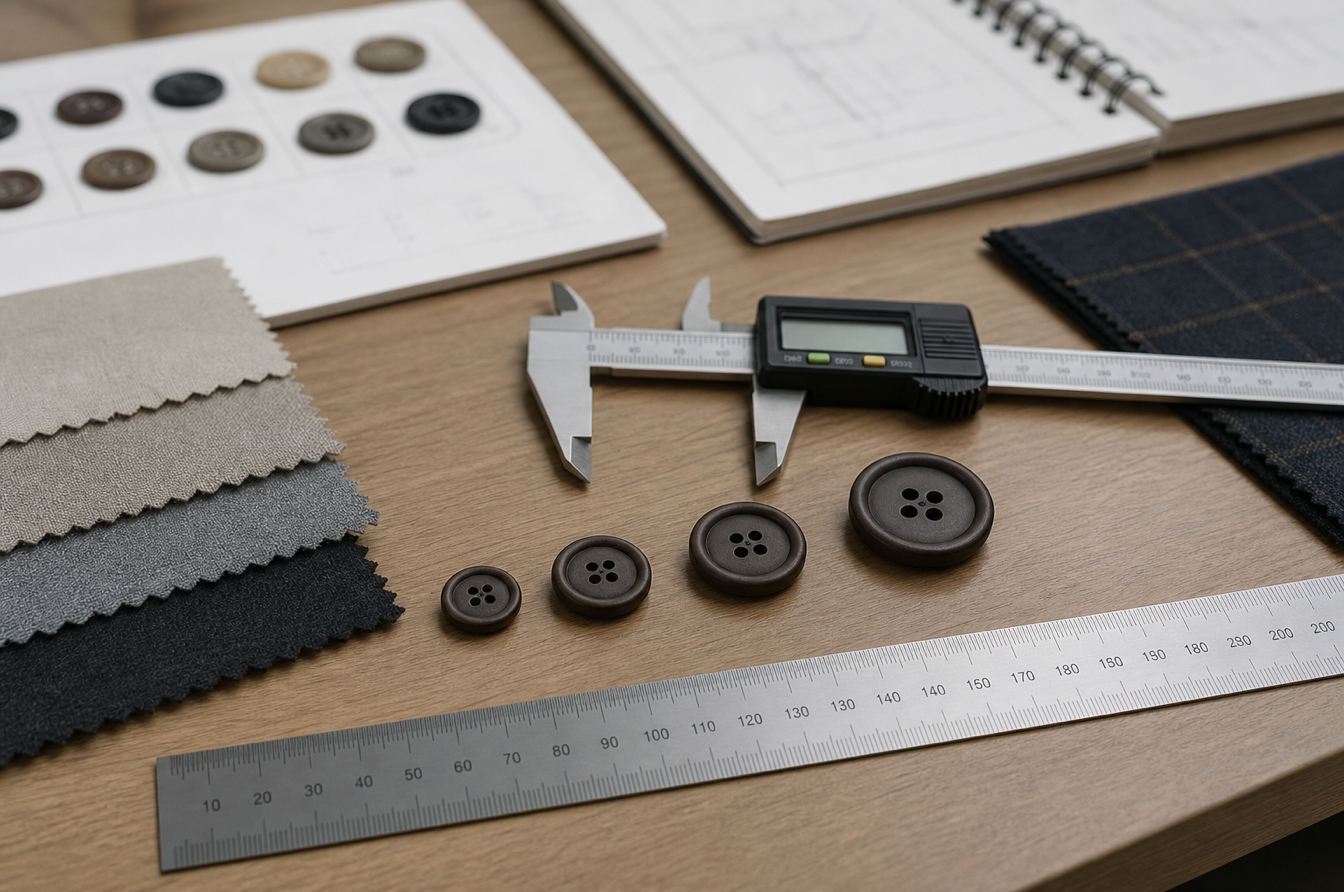
I prefer a digital Vernier caliper because it removes many reading errors, especially when a team checks several close sizes such as 18L, 20L, and 22L. I measure at least three pieces from a sample lot, then I record the average and the visible range. That small habit catches early mold variation before it becomes a production issue.
How Do Buttonholes, Fabric, and Button Volume Work Together?
The buttonhole is a mechanical opening, so I size it around real movement, not only around the button chart.
As a base rule, I make the buttonhole about 3 mm longer than the button diameter, then adjust by fabric thickness and button shape.
The Dynamic Buttonhole Rule
The 3 mm rule is a useful starting point because most flat buttons need a little entry space, a little rotation space, and a little sewing tolerance. For a 20 mm button, a 23 mm buttonhole often works well on a medium-weight woven fabric. But I do not use the rule blindly. A heavy wool coat may need 5 mm or more of extra length because the cloth is thick, the button may be domed, and the wearer often fastens it under tension. A light silk blouse may need a narrower allowance because a loose buttonhole can slip open and make the garment feel cheap.
I also test the buttonhole in the same construction direction as the finished garment. A vertical shirt placket behaves differently from a horizontal coat front. A knitted cardigan rib can open and recover, while a fused blazer front has less stretch but more structure. When I test, I button and unbutton the sample several times. I look for drag, puckering, loose closure, thread abrasion, and whether the button stands naturally after fastening.
| Fabric Type | Starting Extra Length | Practical Adjustment |
|---|---|---|
| Lightweight silk or viscose | 2-3 mm | Keep tight enough to prevent slipping |
| Cotton shirting | 3 mm | Check shrinkage and stitch density |
| Medium wool suiting | 3-4 mm | Allow for facing and fusing thickness |
| Heavy coating wool | 5 mm or more | Test with full placket layers |
| Chunky knit cardigan | 4-6 mm | Test recovery after repeated use |
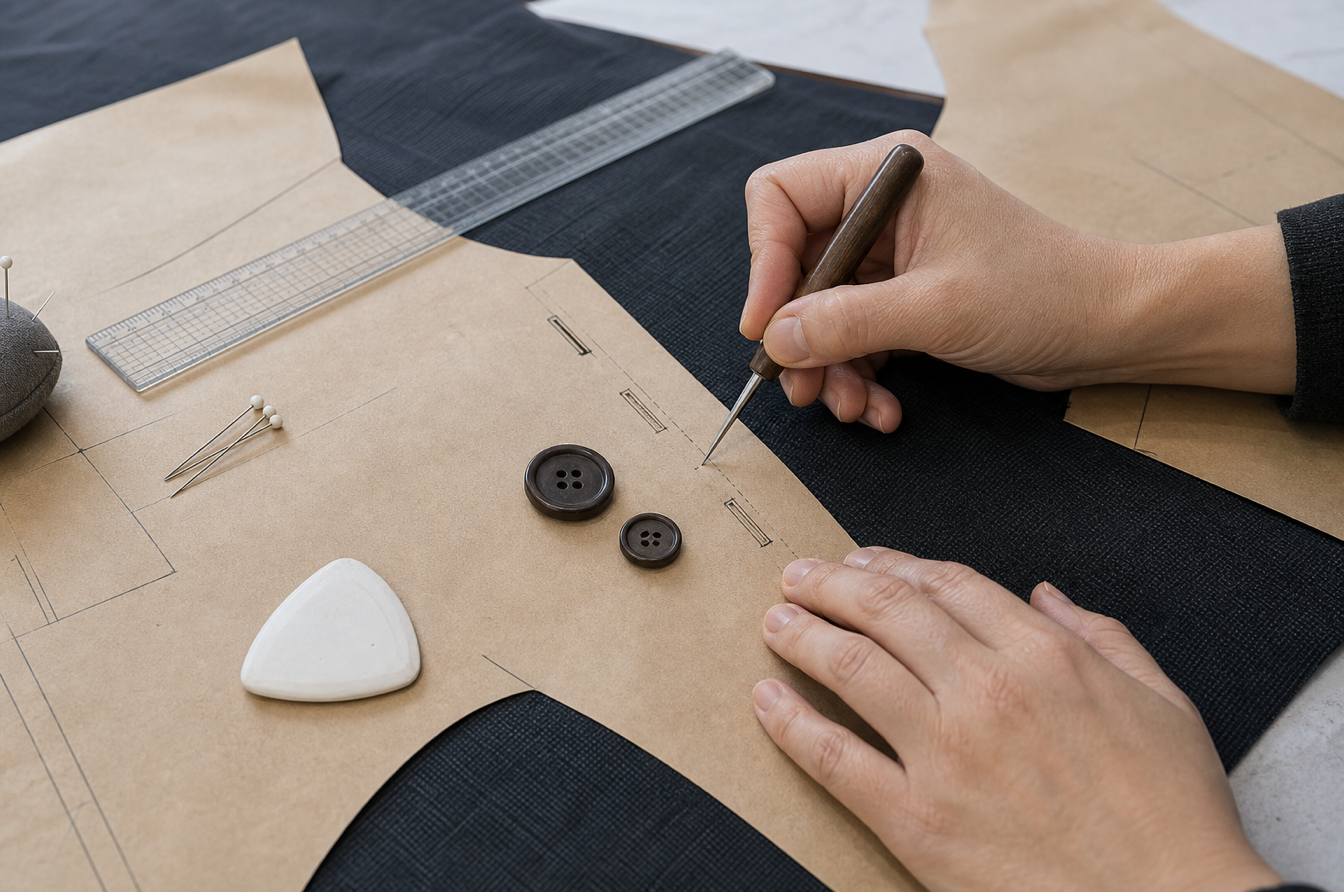
Pattern Position and Shank Button Clearance
When I change a button size after the first design review, I adjust the paper pattern before cutting the next sample. I do not simply sew a larger button onto the old position. A larger button may shift the visual center, crowd the edge, and change the overlap of the placket. I mark the original button center, confirm the garment overlap, then recheck edge distance, buttonhole length, and spacing between buttons. For front plackets, I keep the closure line stable unless the design itself needs a new balance.
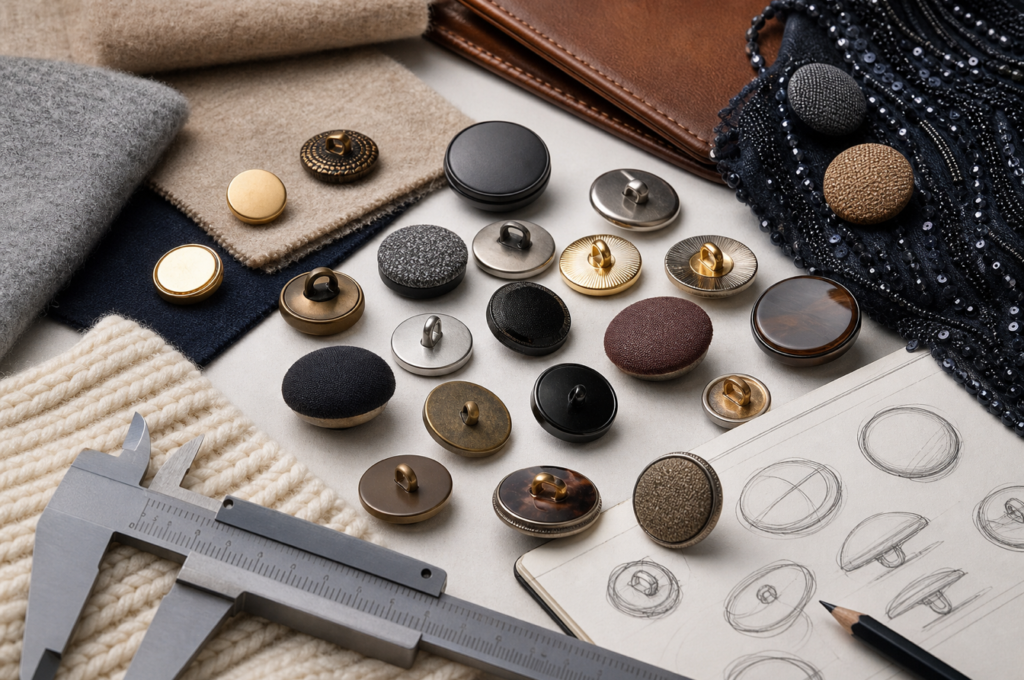
Shank buttons need special attention because the shank creates space between the button face and the fabric. That space is valuable on coats, jackets, and thick cardigans. It allows the fabric layers to sit under the button without being crushed. It also reduces distortion around the closure point. However, I must measure shank height, not only button diameter. If the shank is too short, the button digs into the fabric. If it is too tall, the button can wobble and feel unstable.
For thick garments, I test the shank button through the real layer stack: shell fabric, lining, facing, fusing, and any reinforcement. Then I check whether the button sits flat after fastening. A good shank button should give clearance without looking detached from the garment.
What Button Sizes Work Across Men’s Wear, Women’s Wear, Outerwear, and Children’s Wear?
Category standards are not rules for creativity, but they protect fit, proportion, and user expectation.
I use category size ranges as the first filter, then refine by fabric, silhouette, customer age, and brand language.
Men’s Wear and Women’s Wear
In classic men’s wear, button sizing is usually stable because proportion and habit matter. I often see 13L at the collar, 15L at the cuff, and 16L to 20L on the shirt placket. For tailored pieces, 24L works well for sleeve buttons and many trouser closures, while 32L is common for suit fronts. These sizes look natural because customers have seen them for years, and production teams already understand the related buttonhole and reinforcement needs.
Women’s wear gives me a wider design range. For blouses, I often choose 12L to 14L when the goal is a refined, delicate look. Small buttons reduce visual weight and work well on soft shirting, silk-like fabric, and feminine tailoring. For cardigans, I usually move into 18L to 24L, but the yarn gauge decides the final size. A fine-gauge cardigan may accept 18L, while a heavier knit may need 22L or 24L so the button does not disappear into the texture.
| Garment Category | Common Ligne Range | Design Reason |
|---|---|---|
| Men’s shirt collar | 13L | Low bulk and clean neck closure |
| Men’s shirt cuff | 15L | Easy handling without visual heaviness |
| Men’s shirt placket | 16L-20L | Standard closure and balanced spacing |
| Suit sleeve or trouser | 24L | Tailored scale and secure handling |
| Suit front | 32L | Strong visual anchor on structured cloth |
| Women’s blouse | 12L-14L | Fine, light, delicate appearance |
| Cardigan | 18L-24L | Adjusted by yarn thickness |
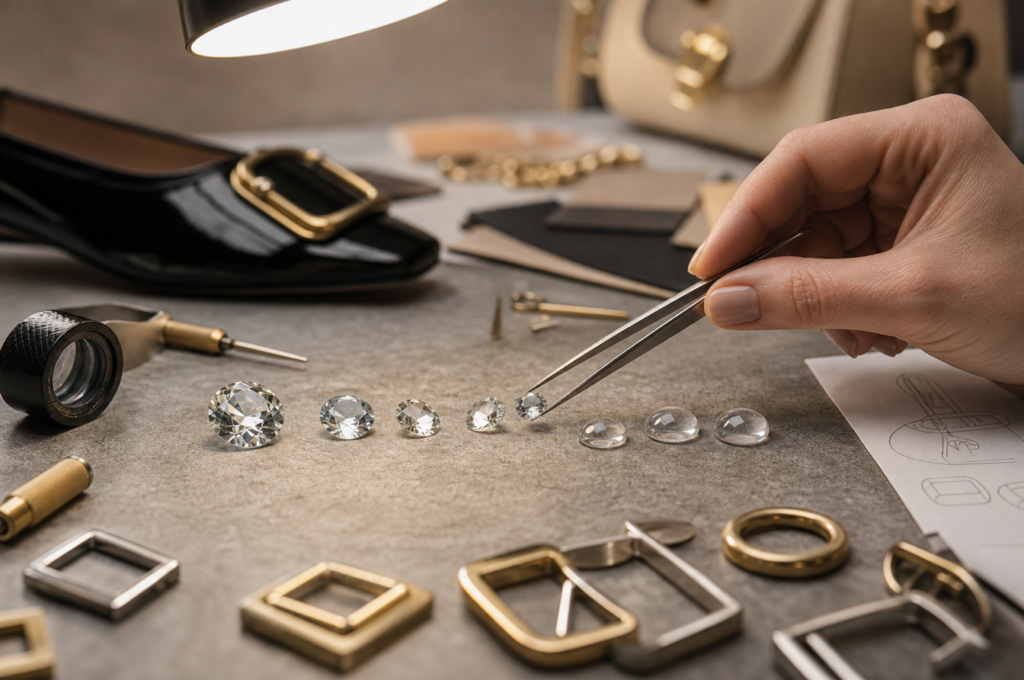
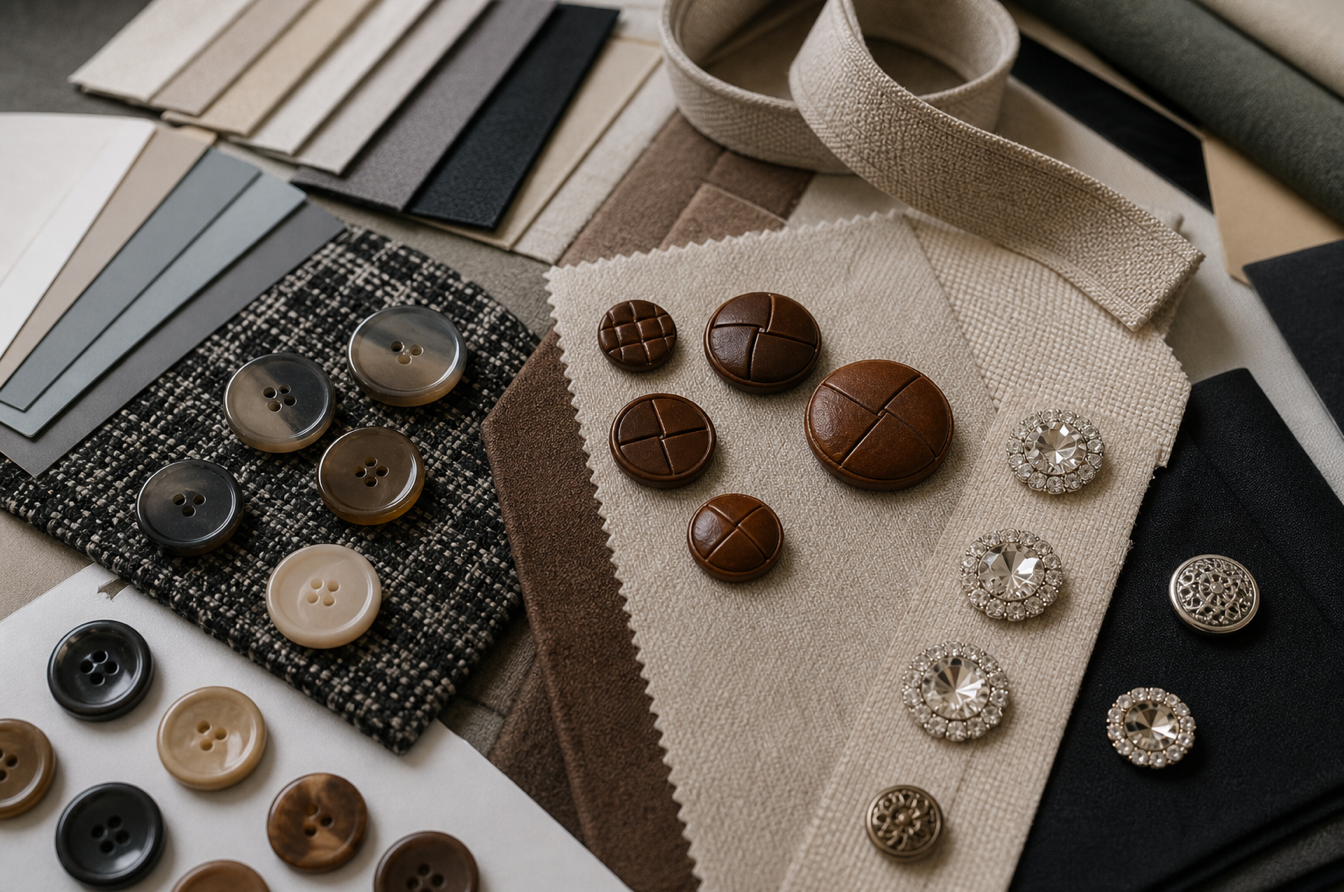
Rhinestone buttons can change the same size into a different message. A 14L rhinestone button on a blouse may feel jewelry-like, while a plain acrylic button of the same size may feel quiet and practical. I always check sparkle, edge smoothness, and washing risk before I approve this choice.
Outerwear, Children’s Wear, and Special Categories
Outerwear needs stronger visibility and easier handling. For coats, I often start at 40L, which equals 1 inch, and move larger when the design is oversized, belted, or made with thick wool. Large buttons help the wearer fasten the garment with cold hands, and they also create a strong visual rhythm on the front body. Leather buttons are useful when the brand wants a classic, traditional feeling. They work especially well with wool, cotton canvas, waxed fabric, and heritage-inspired outerwear.
Children’s wear forces me to think beyond beauty. Small buttons can become a safety risk if sewing strength is poor or if the button breaks. I check pull strength, stitch security, sharp edges, and whether a child can mouth or detach the trim. For baby and toddler garments, I often recommend avoiding very small decorative buttons unless the construction and testing plan are strong. When buttons are necessary, I prefer stable materials, smooth edges, secure attachment, and clear inspection standards.
| Category | Size Direction | Extra Check |
|---|---|---|
| Heavy wool coat | 40L and above | Buttonhole length, hand fastening, shank clearance |
| Heritage outerwear | Large leather buttons | Colorfastness, thickness, edge finish |
| Chunky cardigan | 22L-30L | Knit recovery and hole distortion |
| Children’s shirt | Small to medium | Pull strength and edge smoothness |
| Baby garment | Use with caution | Detachment risk and safety testing |
This category thinking keeps design freedom under control. I can still choose a surprising button, but I know which risk I am accepting.
How Do Materials Shape Perceived Value and Brand Language?
The same button size can look basic, technical, classic, or luxurious when the material changes.
I choose button material for strength, surface behavior, garment care, target customer, and the emotional message of the collection.
Acrylic, Leather, and Rhinestone Signals
Acrylic is practical because it can be durable, light, colorful, transparent, marbled, or horn-like. It suits modern fast fashion and commercial collections because the design range is broad and cost control is easier than many natural materials. When I use acrylic, I check color consistency, surface scratches, heat resistance, and whether the finish looks too plastic for the target price point. A good acrylic button can support a clean contemporary garment, but a poor one can make the same garment look flat.
Leather buttons send a different message. They feel traditional, warm, and crafted. They can lift a coat, a cardigan, or a workwear-inspired jacket because they connect visually with natural fibers and textured cloth. However, leather brings care issues. I check thickness, edge sealing, color transfer, wash behavior, and whether the button will deform under humidity.
Rhinestone buttons create brightness and occasion value. They are useful for evening blouses, embellished cardigans, and small highlight placements. But I do not treat them as simple decoration. I check stone setting strength, prong smoothness, snagging risk, and whether the sparkle matches the customer. Too much shine on the wrong garment can look forced.
| Material | Visual Message | Best Use |
|---|---|---|
| Acrylic | Modern, flexible, cost-efficient | Shirts, fashion blouses, commercial collections |
| Leather | Classic, warm, traditional | Coats, cardigans, heritage outerwear |
| Rhinestone | Bright, dressy, decorative | Blouses, evening pieces, statement trims |
| Metal-look plastic | Sharp, light, economical | Fashion jackets and uniforms |
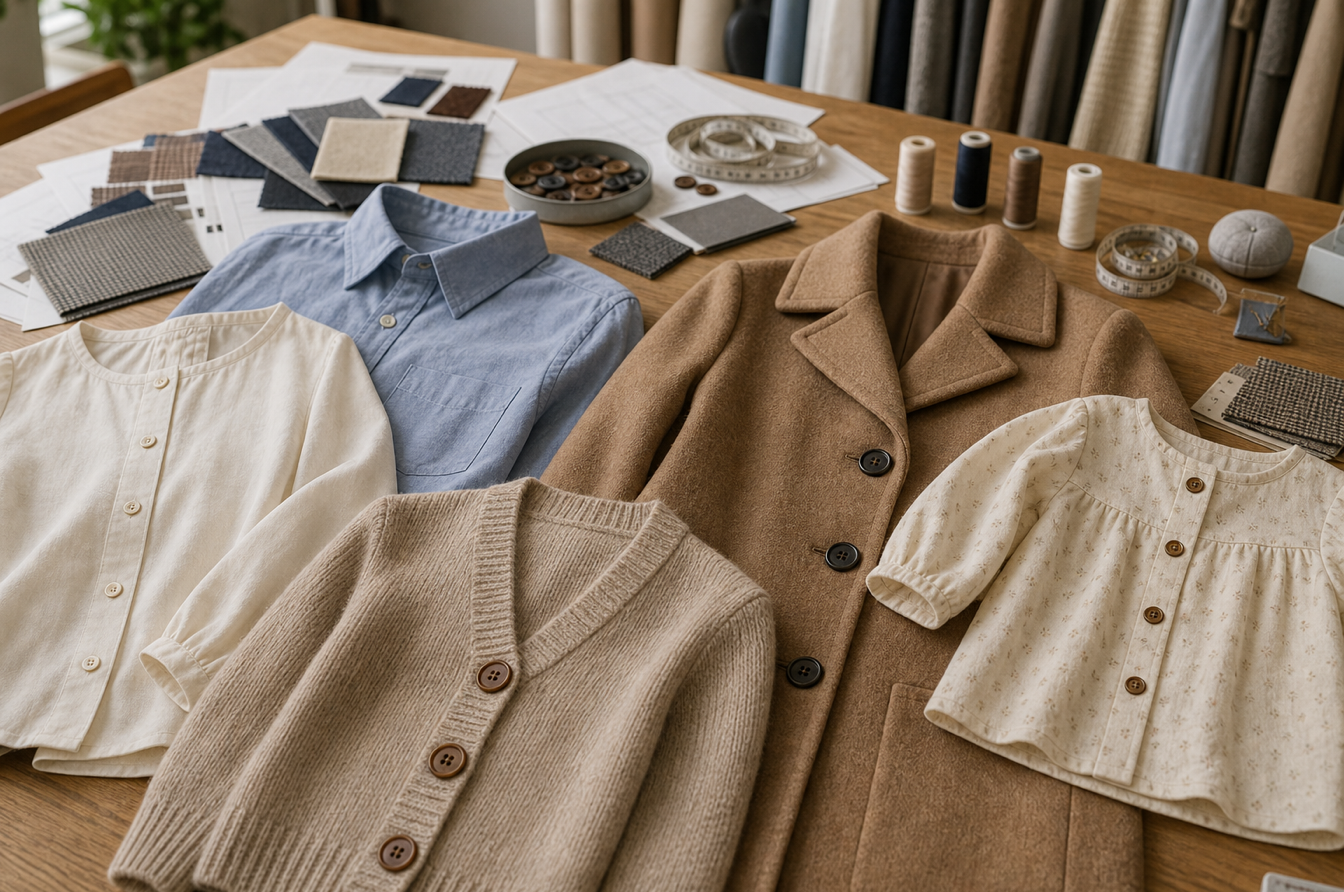
Buttons as Brand Symbols
I see buttons as small brand symbols. A custom size, a specific rim shape, a controlled shine level, or a recurring material can make a garment feel more expensive before the customer reads the label. This is especially true in product lines where the silhouette is simple. A clean shirt, a cardigan, or a coat may rely on buttons to communicate quality in the first few seconds.
Custom development does not always mean a complicated mold. Sometimes the strongest brand choice is a disciplined standard: the same 18L matte button across blouse styles, the same leather shank button across outerwear, or the same subtle rim detail across tailoring. The key is consistency. When I repeat the right button language across a collection, the garment line feels planned rather than assembled from available stock.
For brand teams, I recommend creating a button library with size, material, color, finish, shank type, price level, and approved garment categories. This saves development time and helps designers make faster choices without weakening the brand image.
How Can Sourcing Teams Control Samples, Tolerances, and Production Risk?
A good button decision still fails if the approved sample and the bulk shipment do not match.
I control button sourcing through physical samples, supplier catalogs, tolerance rules, and lot-by-lot quality checks.
Samples, Catalogs, and Real Comparison
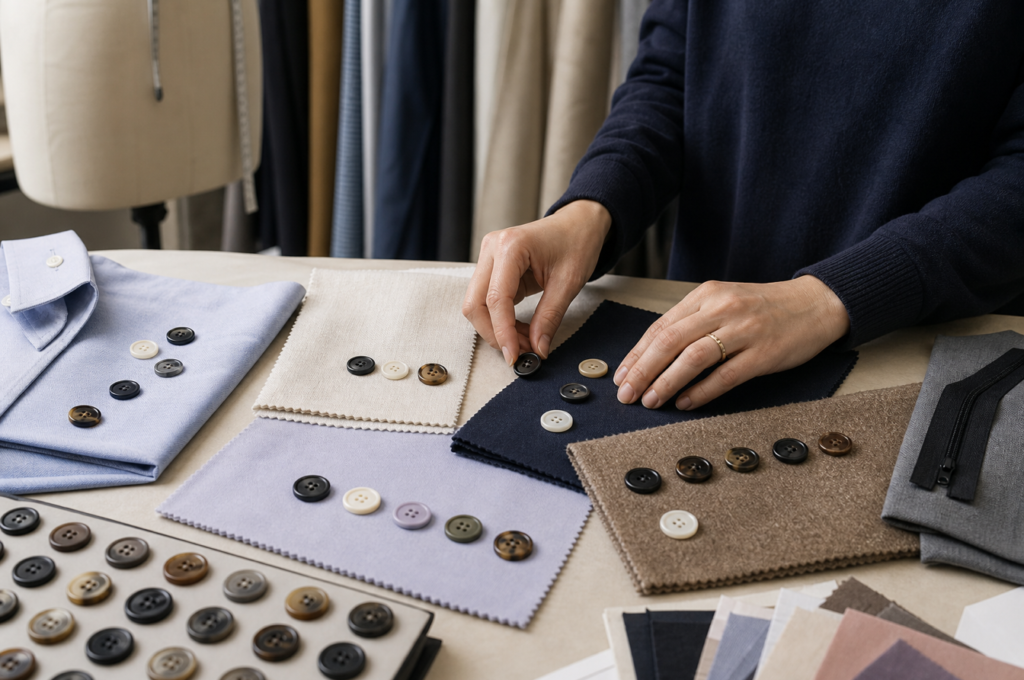
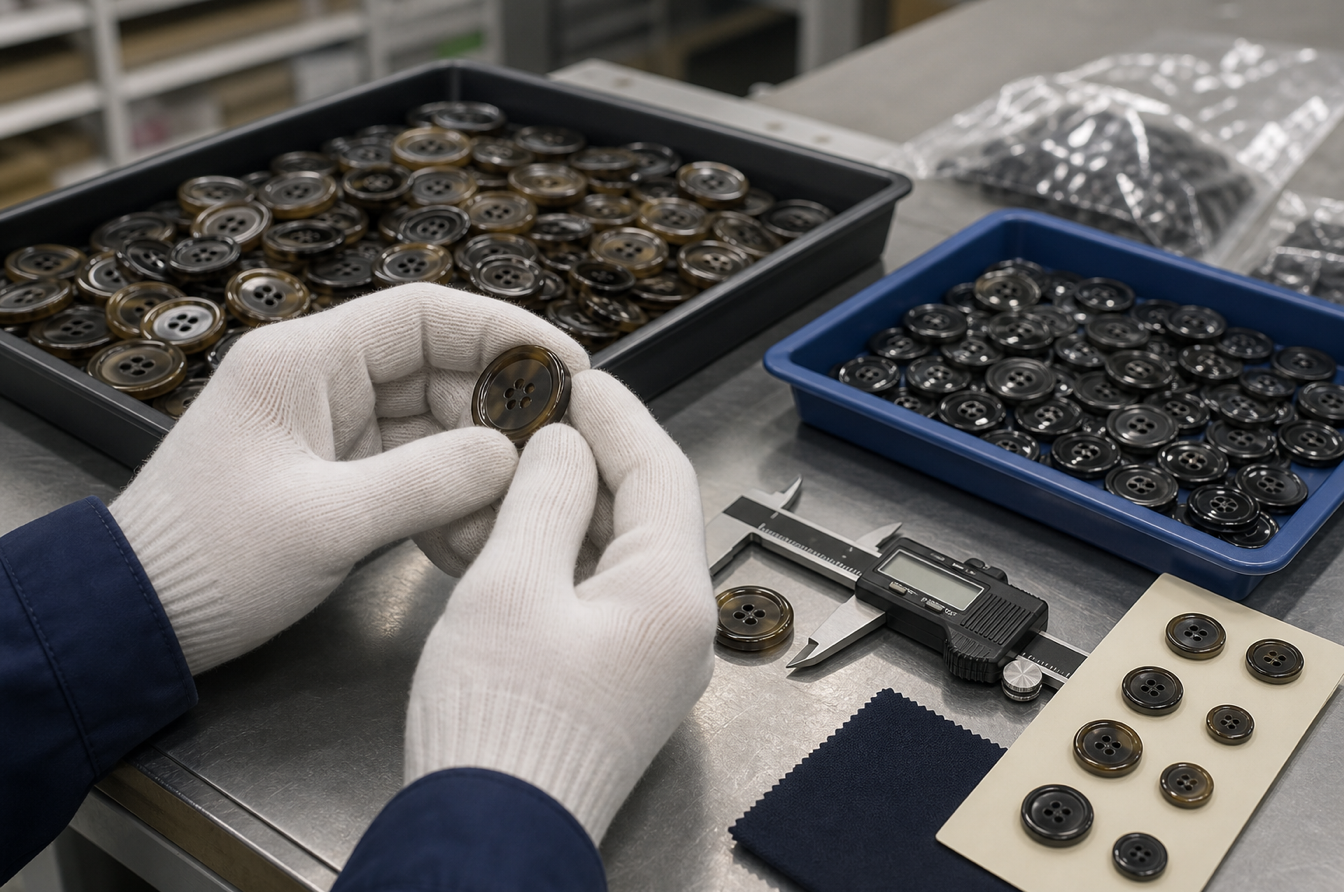
I never approve buttons from a screen alone. Supplier catalogs are useful for narrowing material, color, and size direction, but physical samples reveal the truth. I compare the button against the real fabric, the real thread, and the real garment construction. A glossy black button may look elegant in a catalog and too harsh on a soft wool. A translucent acrylic button may look fresh in daylight and weak under store lighting.
Before bulk purchase, I ask for sample cards or loose pieces from the actual supplier. Then I check diameter, depth, weight, edge finish, hole spacing, shank quality, color, and surface defects. I also test the button with the chosen buttonhole. This is important because a button can measure correctly and still feel wrong when it passes through the garment.
| Sample Check | What I Look For | Why It Matters |
|---|---|---|
| Size measurement | Diameter, depth, shank height | Prevents fit and closure problems |
| Color matching | Daylight and store lighting | Protects final garment appearance |
| Edge finish | Smooth rim and no sharp points | Prevents thread damage and discomfort |
| Hole or shank quality | Clean drilling or strong shank | Protects sewing strength |
| Buttonhole test | Real fabric and real construction | Confirms practical use |
Tolerance Management in Bulk Production
For mass production, I define tolerances before the purchase order is locked. A common mistake is to approve a beautiful sample and leave the bulk size expectation vague. I prefer to state acceptable variation in millimeters, not only in Ligne. For example, if I approve a 24L button, I record its target as 15.24 mm and define an acceptable range based on material, mold process, and garment sensitivity. A shirt button may need a tighter visual tolerance than a rustic leather coat button.
I also separate critical and cosmetic criteria. Critical issues include broken shanks, sharp edges, weak hole walls, color transfer, and severe size deviation. Cosmetic issues include small surface marks, slight natural variation, and acceptable marbling differences. This keeps inspection fair and realistic. Natural materials and imitation horn effects should not be judged like flat plastic, but they still need a clear approved standard.
During production, I ask the factory to check multiple cartons, not only the top bag. I measure random pieces, compare them to the approved sample, and test sewing performance. If the button is custom, I keep a sealed approval sample for the factory, the brand, and the quality team. That shared reference prevents many arguments later.
Conclusion
When I engineer buttons early, I protect fit, function, brand value, and production confidence with one small but powerful decision.