- Loading...
Custom fashion hardware color differences can appear even when an approved sample looks correct. I have seen the same buckle look noticeably warmer beside the bulk shipment.
Color differences between custom fashion hardware samples and bulk production usually come from changes in base metal, polishing, coating chemistry, loading, film thickness, curing, and inspection conditions. A sample controls appearance only when the same materials, processes, and approval method continue into production.

Color is not created by the final decorative layer alone. It is the visible result of the substrate, surface preparation, coating system, production setup, protective layer, and viewing environment working together. A useful sample-to-bulk review must therefore follow the complete manufacturing route rather than treating color as a final cosmetic check.
What Causes Color Differences Between Hardware Samples and Bulk Orders?
The visible mismatch is usually cumulative: several small process changes combine until the difference becomes obvious on the finished product.
The main causes are unrepresentative samples, material-lot changes, altered polishing, different coating loads, drifting finishing conditions, inconsistent topcoats, and uncontrolled inspection lighting. Each change may be subtle, but their combined effect can move the finish beyond the approved appearance.
A Visually Correct Sample May Not Be Production-Representative
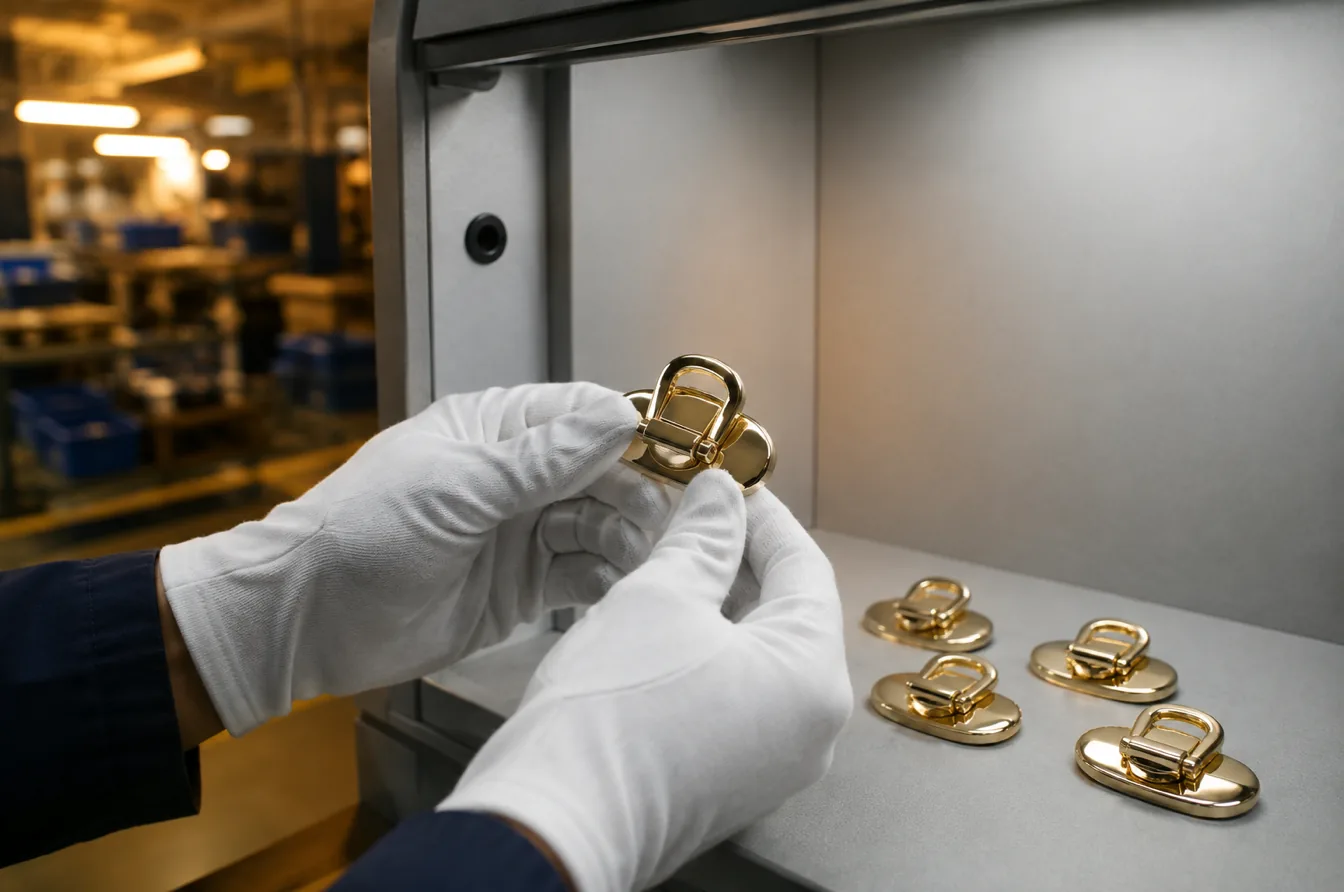
A development sample is often made in a small quantity, so each piece can receive close attention during casting selection, polishing, coating, handling, and inspection. Bulk production introduces more material lots, operators, shifts, equipment loads, and finishing cycles. A sample may also be rack plated while the commercial order is planned for barrel plating, or it may pass through a different coating line because the original line is unavailable when production begins.
These changes do not automatically create unacceptable hardware, but they weaken the connection between the approved sample and the bulk process. The approval then confirms only that one group of parts can achieve the desired appearance. It does not prove that the intended production route can repeat that appearance consistently across buckles, logo plates, zipper pulls, hooks, rings, buttons, or other visible components.
| Development condition | Possible bulk change | Color risk |
|---|---|---|
| Selected sample castings | Mixed production lots | Porosity, roughness, or tone changes |
| Extra manual polishing | Standard production polishing | Different brightness and reflection |
| Small rack load | Full rack or barrel load | Uneven coating distribution |
| One finishing cycle | Several shifts or batches | Gradual shade drift |
| Individual inspection | Statistical bulk inspection | Wider visible variation in delivered parts |
Appearance Must Be Converted Into a Repeatable Route
The approved appearance becomes reliable only after it is connected to specific production conditions. The record should identify the base material, manufacturing method, polish or texture, coating sequence, rack or barrel method, fixture orientation, topcoat, cure conditions, and inspection setup. A production-intent pilot is especially valuable because it tests the planned tooling, loading, coating line, and handling method before the full order is released.
The most useful question is not whether the factory can make one matching piece. The important question is whether the planned process can hold an agreed appearance range throughout the order. This distinction shifts color control away from last-minute sorting and toward process design. It also reduces the risk that an attractive development sample becomes an unrealistic target for normal production.
How Do Base Metal, Polishing, and Surface Texture Affect the Final Color?
The decorative coating may be thin, so differences beneath it can remain visible after finishing.
Base-metal composition, casting condition, porosity, polishing level, brushing direction, and surface roughness affect coating deposition and reflected light. Two parts with the same nominal finish may therefore appear different when their substrates or surface preparation are not equivalent.
Base Metal Influences the Entire Finish System
Zinc alloy, brass, stainless steel, steel, aluminum, and plated plastic do not begin with the same surface condition. They require different cleaning, activation, leveling, and barrier layers. Even within one material family, a change in alloy composition, casting supplier, recycled content, or material lot can affect porosity, oxidation, conductivity, and the way the surface responds to polishing and coating.
Porous castings may develop pits or cloudy areas after finishing. A poorly activated surface may receive an uneven deposit or show weak adhesion. A different underlayer can also alter the brightness and warmth visible through a thin decorative top layer. For this reason, a description such as “metal buckle with light-gold finish” is incomplete. The base material and its preparation are part of the color specification, even though they may not be visible on an approved sample.
| Variable | Possible visual effect | Practical control |
|---|---|---|
| Alloy or material lot | Warmer, cooler, brighter, or duller tone | Lock the material specification and lot records |
| Casting porosity | Pits, haze, dark points, or uneven reflection | Set casting and surface acceptance limits |
| Cleaning and activation | Streaks or irregular coating | Fix the pretreatment route and inspection points |
| Leveling or barrier layer | Changed brightness or color depth | Record the full layer sequence |
| Mixed substrates in one set | Components that fail to match | Validate each substrate and approve the assembled set |
Surface Texture Changes Perceived Color
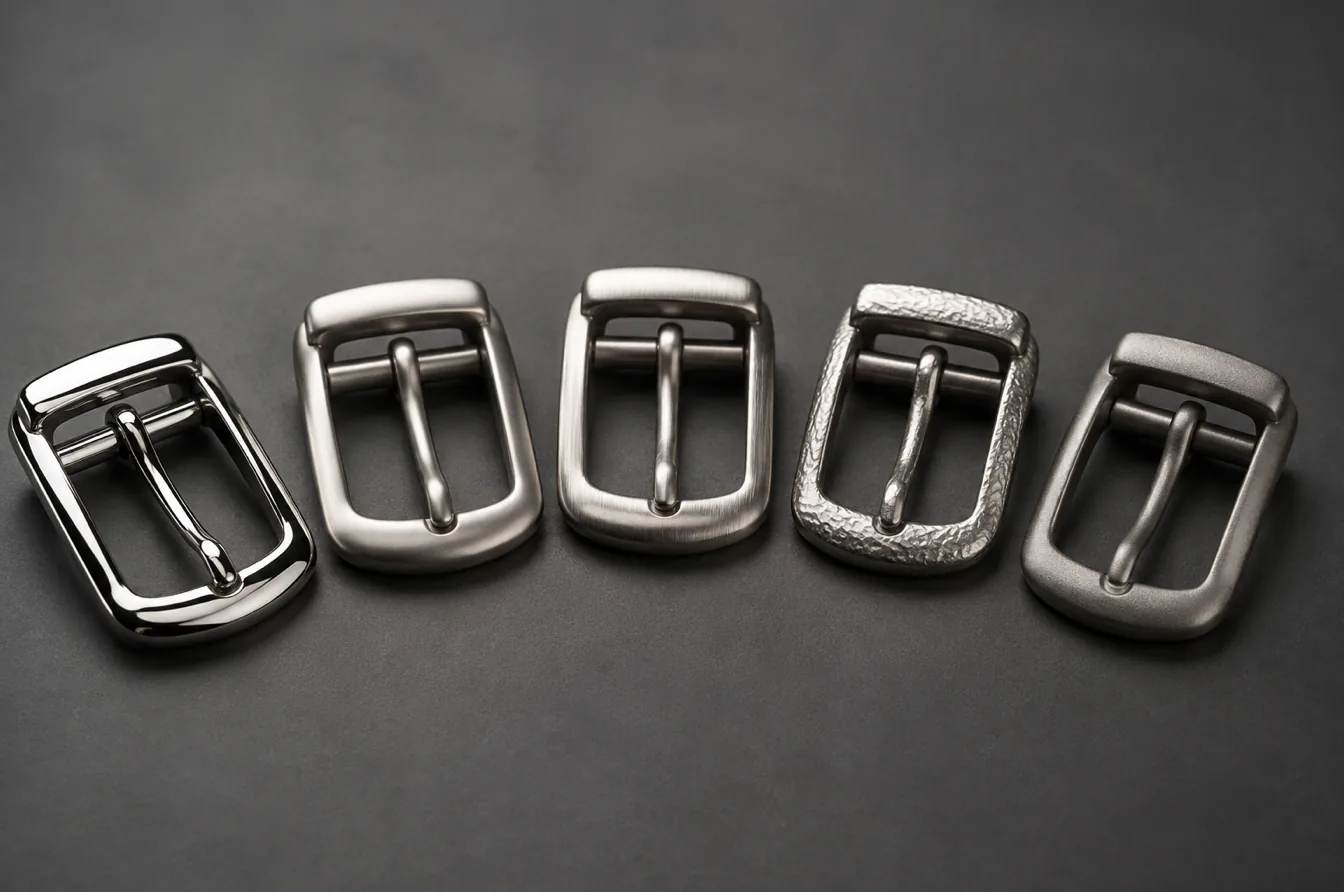
Mirror polishing directs light differently from satin polishing, brushing, tumbling, or sandblasting. A highly polished surface may look brighter and deeper, while a matte surface may appear lighter or flatter under the same illumination. Brushing direction can also create a light-dark shift as the part or light source moves. The eye may describe these differences as color changes even when the decorative coating chemistry is similar.
Surface approval should therefore include gloss, texture, brushing direction, edge treatment, and acceptable polishing marks. Physical samples are more effective than color names or photographs because they preserve the interaction between color and reflection. When a fashion product combines several pieces of hardware, all visible components should be reviewed together on the intended fabric, leather, synthetic material, or trim. A small isolated difference can become more noticeable when adjacent parts reflect light in different ways.
Why Do Plating, PVD, and Painted Finishes Vary Between Production Batches?
Each finishing method creates color through different physical and chemical mechanisms, so each method has its own sources of drift.
Electroplating depends on bath chemistry and current distribution, PVD depends on coating composition and thickness, and painted finishes depend on material application and curing. Stable bulk color requires the critical variables for the selected process to remain controlled from sample through production.
Electroplating Changes With Chemistry, Current, and Loading
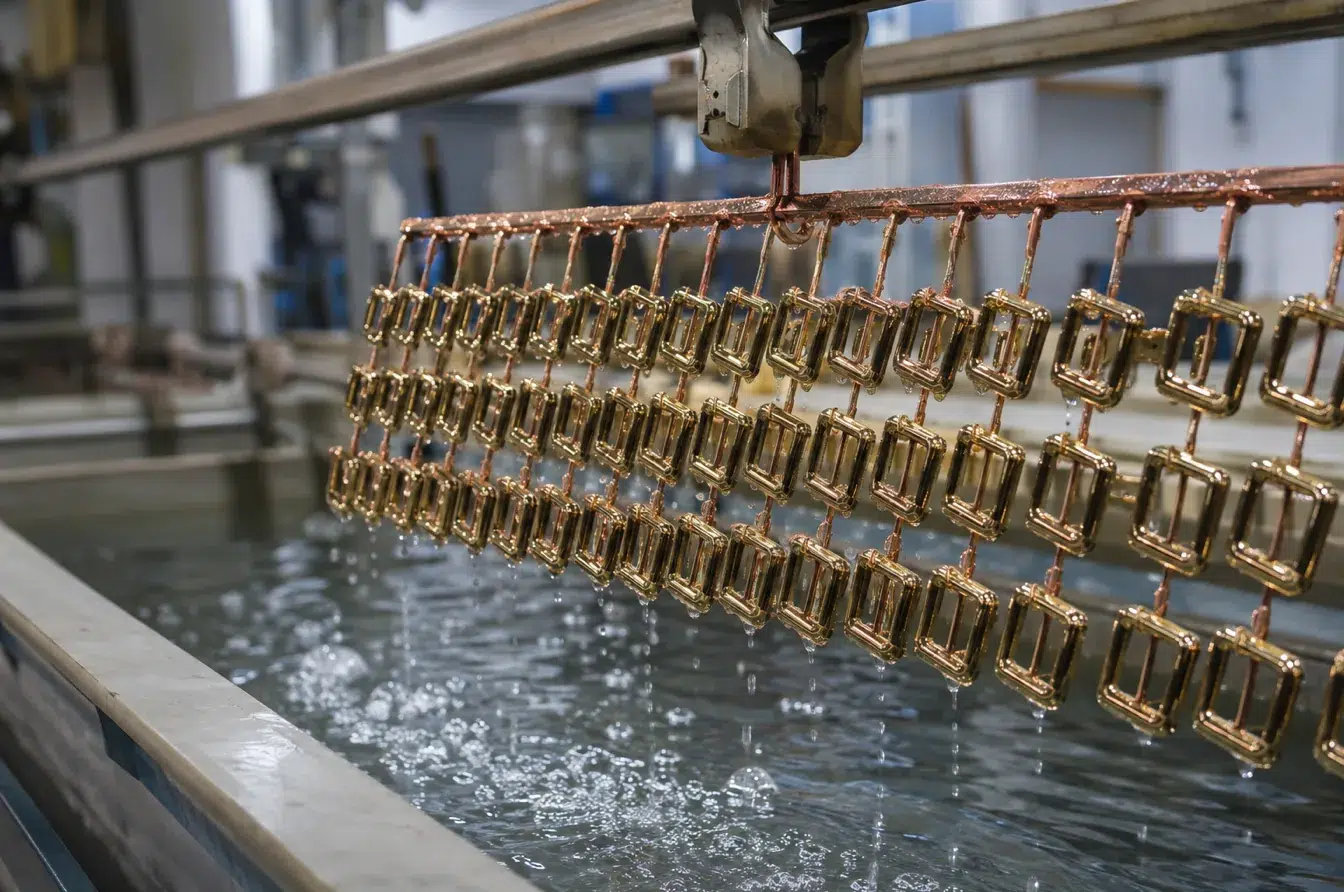
An electroplating bath is not static. Metal concentration, additive balance, pH, temperature, contamination, filtration condition, and process residues change as production continues. These variables affect deposit color, brightness, leveling, and coverage. A sample produced in a recently adjusted bath may therefore look different from bulk parts processed later under a heavier production load.
Electrical current also reaches every area of a component differently. Edges, protrusions, rack positions, and surfaces closer to the anode may receive more current, while recesses, holes, and shielded areas may receive less. Part orientation, spacing, rack contact, agitation, and load size can therefore change both coating thickness and apparent shade. A fixed rack layout and defined contact positions help make the production condition repeatable, while inspection across several rack positions reveals variation that a single best-looking part could hide.
| Finish method | Sensitive production variables | Typical appearance change |
|---|---|---|
| Electroplating | Bath condition, current, temperature, loading, rack position | Shade, brightness, coverage, or haze |
| PVD | Reactive gas, target condition, film thickness, rotation, chamber loading | Hue shift, saturation change, or gradients |
| Spray or powder coating | Film thickness, gun settings, material batch, curing | Color, gloss, metallic effect, or clouding |
| Clear lacquer or e-coat | Wet-film control, cure profile, aging | Warmer, darker, yellower, or duller appearance |
PVD and Painted Finishes Need Different Diagnostic Logic
PVD color can depend mainly on the chemical composition of the deposited layer or on optical interference created by film thickness. A chemistry-driven shift requires control of reactive gas, target condition, and plasma stability. A thickness-driven shift requires attention to deposition time, part rotation, chamber position, and uniform coverage over three-dimensional geometry. Treating every PVD shade problem as the same type of drift can lead to adjustments that do not address the real cause.
Painted, powder-coated, lacquered, and electrophoretic finishes respond to another set of variables. Film thickness, spray distance, voltage, powder or paint batch, equipment setup, oven temperature, holding time, and cooling conditions can all alter color and gloss. Transparent topcoats may also deepen or warm the metal tone beneath them. The sample and bulk order must therefore use the same complete coating system, including the protective layer and cure process, rather than matching only the colorant or decorative finish name.
How Should Color Standards and Tolerances Be Approved Before Bulk Production?
Verbal descriptions cannot define where an acceptable shade ends and a rejected shade begins.
A complete approval combines a sealed physical master, acceptable lighter and darker limits, controlled viewing conditions, defined critical surfaces, and an agreed measurement method where practical. Gloss, texture, viewing angle, and assembled appearance should be evaluated with color.
A Golden Sample Needs Supporting Limits
A signed golden sample provides a clear visual target, but a single object does not describe the full acceptable production range. Decorative metal finishes naturally show some variation because complex parts do not receive perfectly identical preparation and coating at every point. Without boundary samples, one team may accept a slightly warmer tone while another rejects the same result.
A practical approval set contains the target sample plus approved light, dark, warm, or cool boundaries when those directions are relevant. The samples should use the correct substrate, geometry, polish, coating stack, and topcoat. They also need protection from scratching, fingerprints, moisture, light exposure, and uncontrolled aging. Photographs can support traceability, but they should not replace the physical references because cameras, screens, editing, and ambient light can change the displayed appearance.
| Approval field | Information to define | Risk reduced |
|---|---|---|
| Physical reference | Target sample and acceptable limit samples | Subjective pass-or-fail decisions |
| Critical surfaces | Main face, edge, recess, back, contact point | Hidden or inconsistent inspection zones |
| Appearance | Color direction, gloss, texture, brushing | False color disputes caused by reflection |
| Viewing setup | Light source, angle, distance, background | Different judgments between locations |
| Measurement | Instrument type, locations, agreed tolerance | Inconsistent numerical comparisons |
| Assembly review | Intended fabric, leather, trim, or component set | Mismatch visible only on the final product |
Acceptance Must Reflect How the Hardware Will Be Seen
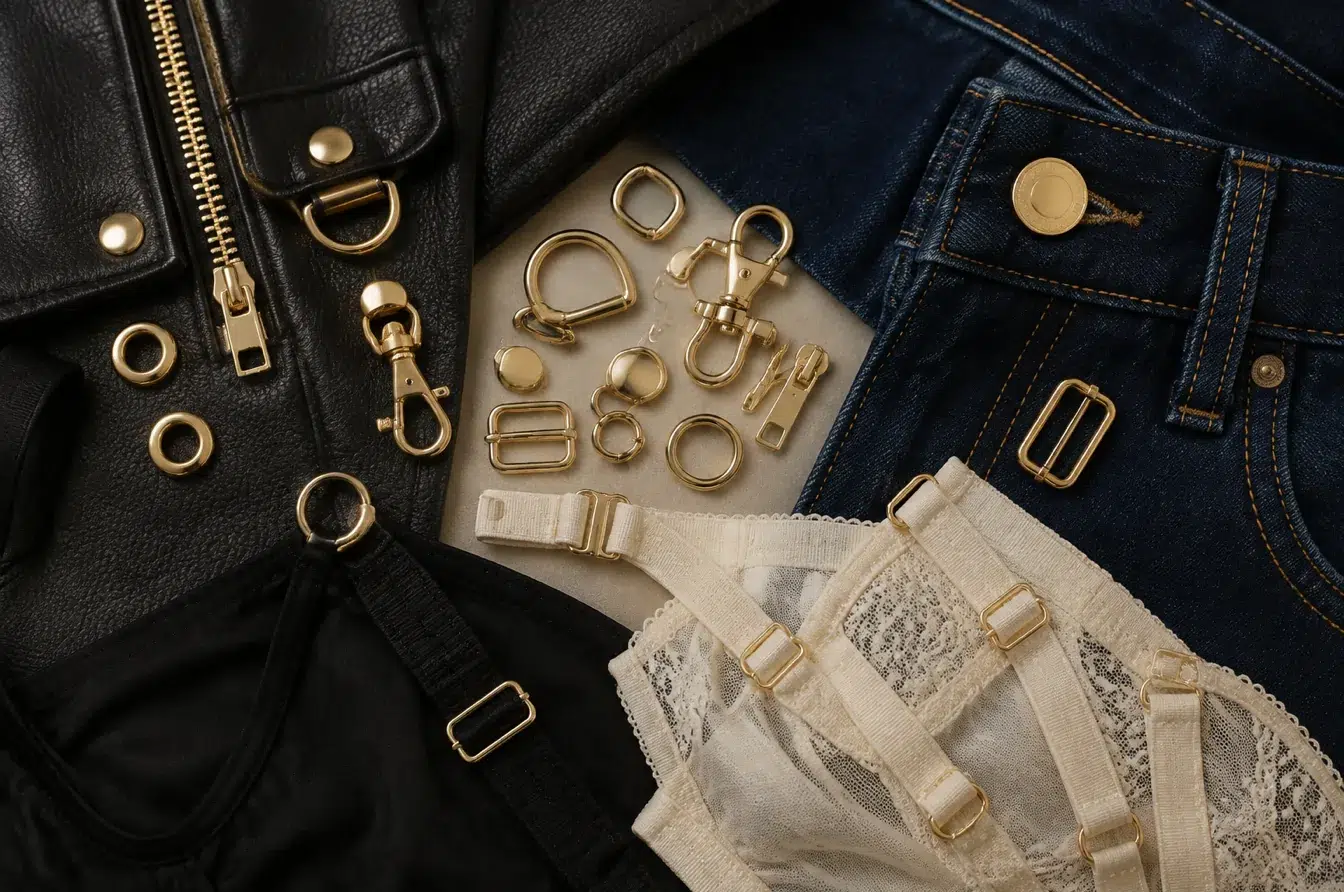
Loose parts on a white inspection table may look different after assembly onto black leather, bright swimwear fabric, denim, coated textiles, or reflective trims. Adjacent colors affect perception, and curved or polished components change as the viewing angle moves. Approval should therefore include both controlled loose-part inspection and a review in the intended assembled context when appearance is critical.
Measurement can make decisions more consistent, but one number cannot describe every metallic effect. The measurement surface, instrument geometry, gloss treatment, and reading location must be suitable for the part. Small curved pieces, deep textures, sparkling finishes, and mirror surfaces may require several readings combined with controlled visual evaluation. Separate limits can also be assigned to critical logo faces and less visible rack-contact areas. This approach prevents a harmless hidden variation from being treated like a major defect while keeping the most visible surfaces closely controlled.
What Quality Controls Help Minimize Sample-to-Bulk Color Differences?
Color consistency improves when production controls prevent drift instead of depending on final sorting.
The strongest controls are a production-intent pilot, locked material and finishing specifications, stable loading methods, monitored process conditions, beginning-middle-end inspections, retained lot samples, and formal reapproval after any material, equipment, line, or supplier change.
Control the Process Before the Finish Drifts
Quality control begins before coating. Incoming material records should separate alloy or casting lots, while surface inspection should confirm porosity, polishing, brushing, and cleanliness. The finishing route should identify the approved line, rack or barrel method, load size, orientation, contact points, and critical process settings. For multi-component products, coordinating visible parts within the same finishing batch can reduce the risk of obvious shade differences after assembly.
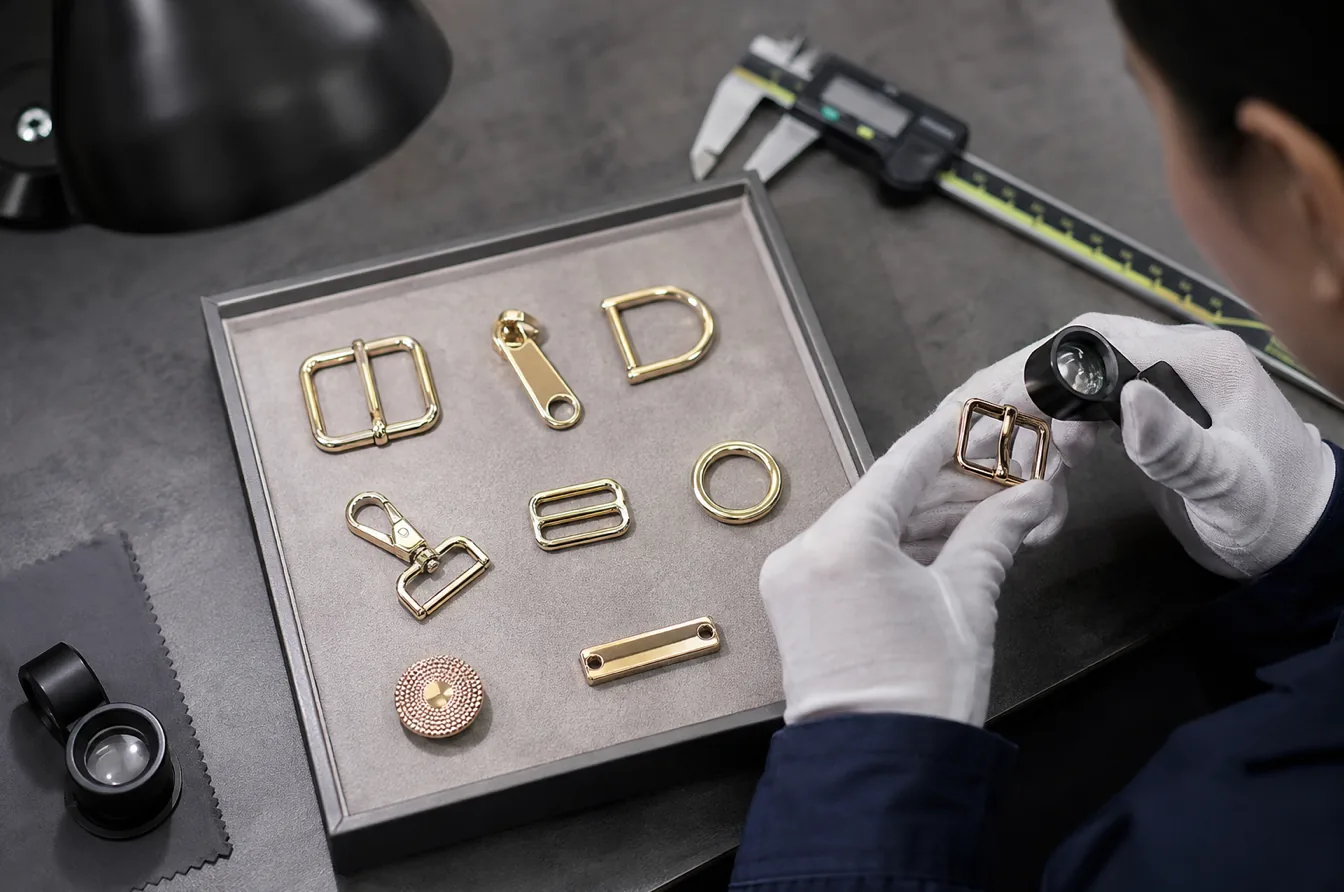
During production, samples from the beginning, middle, and end of a run help show whether the finish is drifting. Inspection should include different rack, barrel, or chamber positions rather than only easily accessible pieces. Main faces, edges, recesses, holes, backs, and moving contact areas require separate attention because coating coverage and reflection vary across geometry. The final check should include both color and related appearance defects such as cloudiness, patchiness, inconsistent brushing, exposed substrate, roughness, or visible contact marks.
| Control point | Required action | Useful evidence |
|---|---|---|
| Production-intent pilot | Use planned tooling, loading, line, and topcoat | Approved pilot samples and process record |
| Incoming material | Identify and segregate material lots | Lot codes and inspection results |
| Surface preparation | Verify polish, texture, and cleaning | First-piece approval and limit samples |
| Finishing process | Monitor critical chemistry and equipment settings | Batch logs and operator records |
| In-process inspection | Compare multiple times and load positions | Beginning, middle, and end samples |
| Final assembly | Review matching across visible components | Approved assembled reference |
| Repeat order | Reapprove significant process changes | Revision history and retained samples |
Traceability Protects Repeat Orders
A bulk order can match the first approved run and still drift several months later if the casting source, polishing media, bath, coating material, production line, oven, or subcontractor changes. Repeat-order control requires a traceable link between the finish code and the process that created it. Retained samples from the approved pilot and each released production lot make later comparisons more reliable.
Change control is equally important. A process change should trigger a focused review of the appearance characteristics it may affect. A new alloy lot may require renewed polishing and coating checks. A different rack design may require coverage review at edges and recesses. A new topcoat or oven may require color and gloss confirmation after curing. This approach prevents old approvals from being applied automatically to a process that is no longer equivalent. It also gives product development, sourcing, production, and inspection teams the same reference when a color question appears.
Conclusion
Consistent hardware color comes from reproducing the approved process, defining acceptable appearance clearly, and controlling every material, finishing, and inspection change from pilot to repeat order.