- Loading...
Custom fashion hardware finishes can look deceptively similar until light, touch, daily wear, and mass production reveal how differently they behave.
Brushed, mirror-polished, sandblasted, tumbled, and antique finishes differ in reflectivity, texture, manufacturing method, wear appearance, and design character. The best option depends on the base metal, component geometry, contact level, environment, and acceptable production variation.
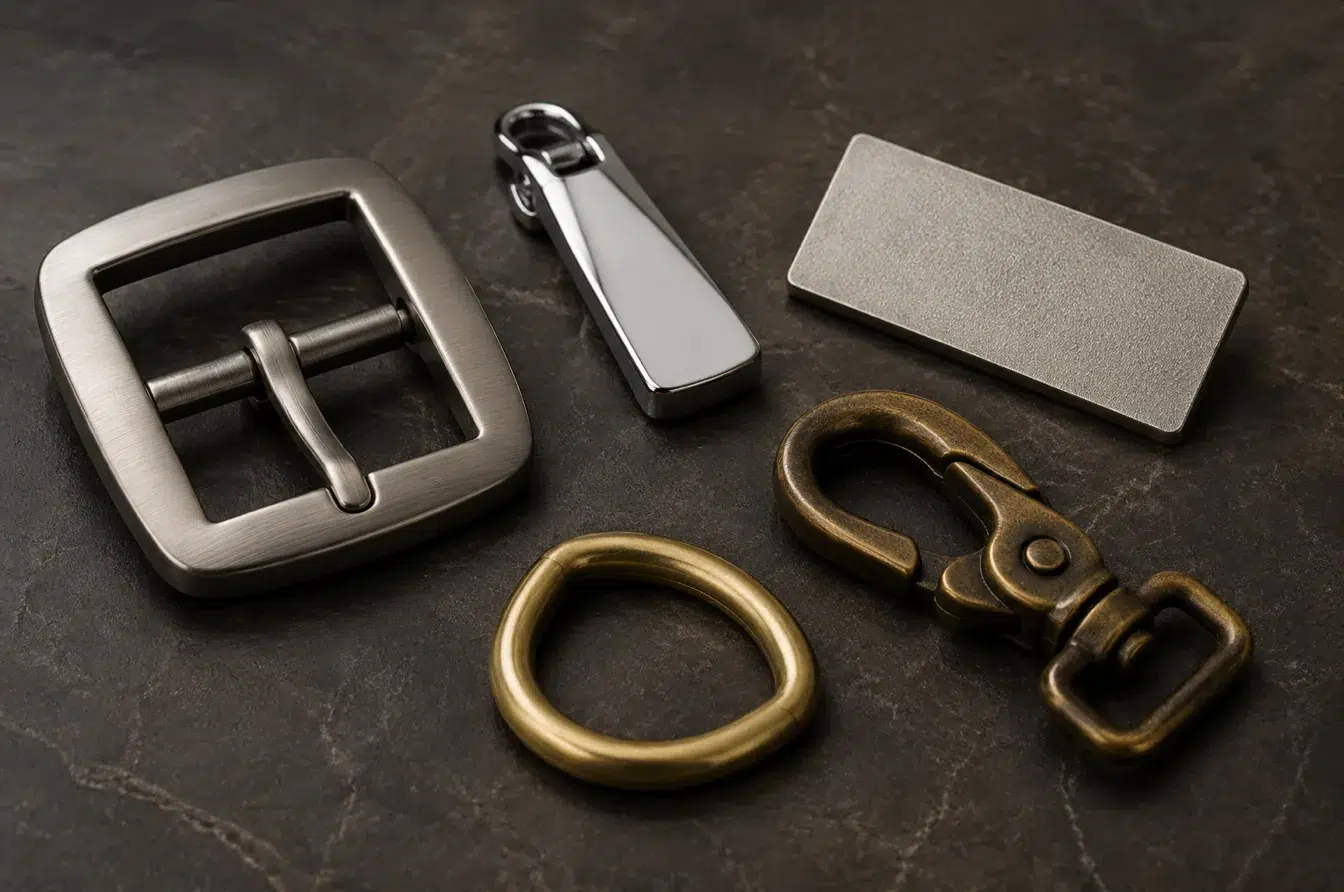
I have seen attractive finishes fail because a color name was treated as the complete specification. A successful finish begins with the required appearance, but it must also account for the real part, its production route, and its expected use.
How Does Each Finish Change the Appearance, Gloss, and Texture of Custom Fashion Hardware?
The same metal color can look refined, flat, bright, rugged, or aged simply because its surface reflects and scatters light differently.
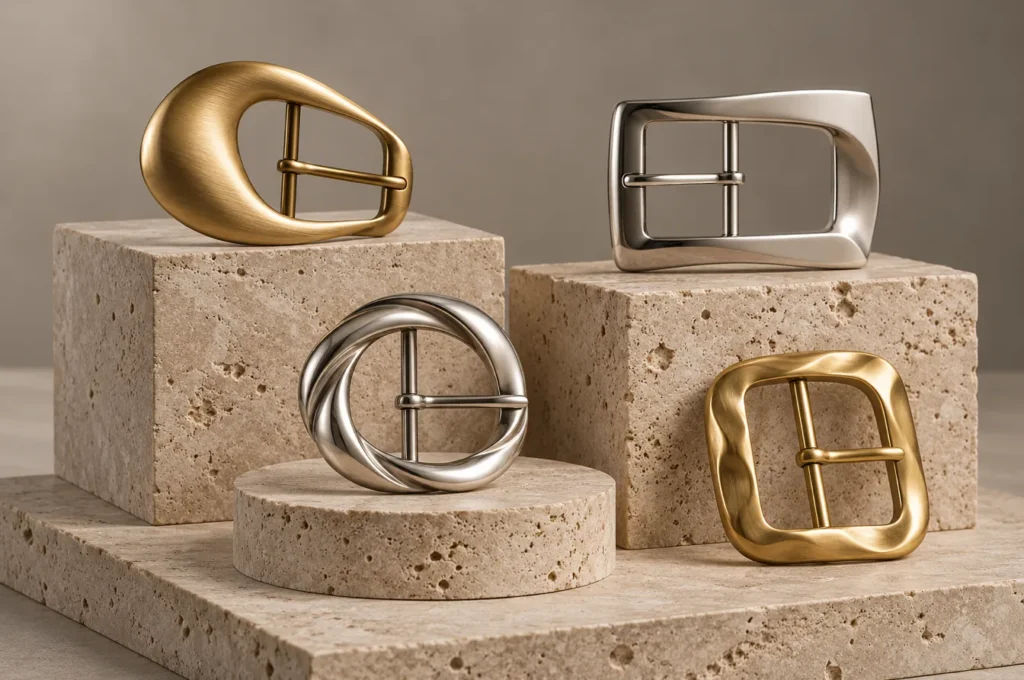
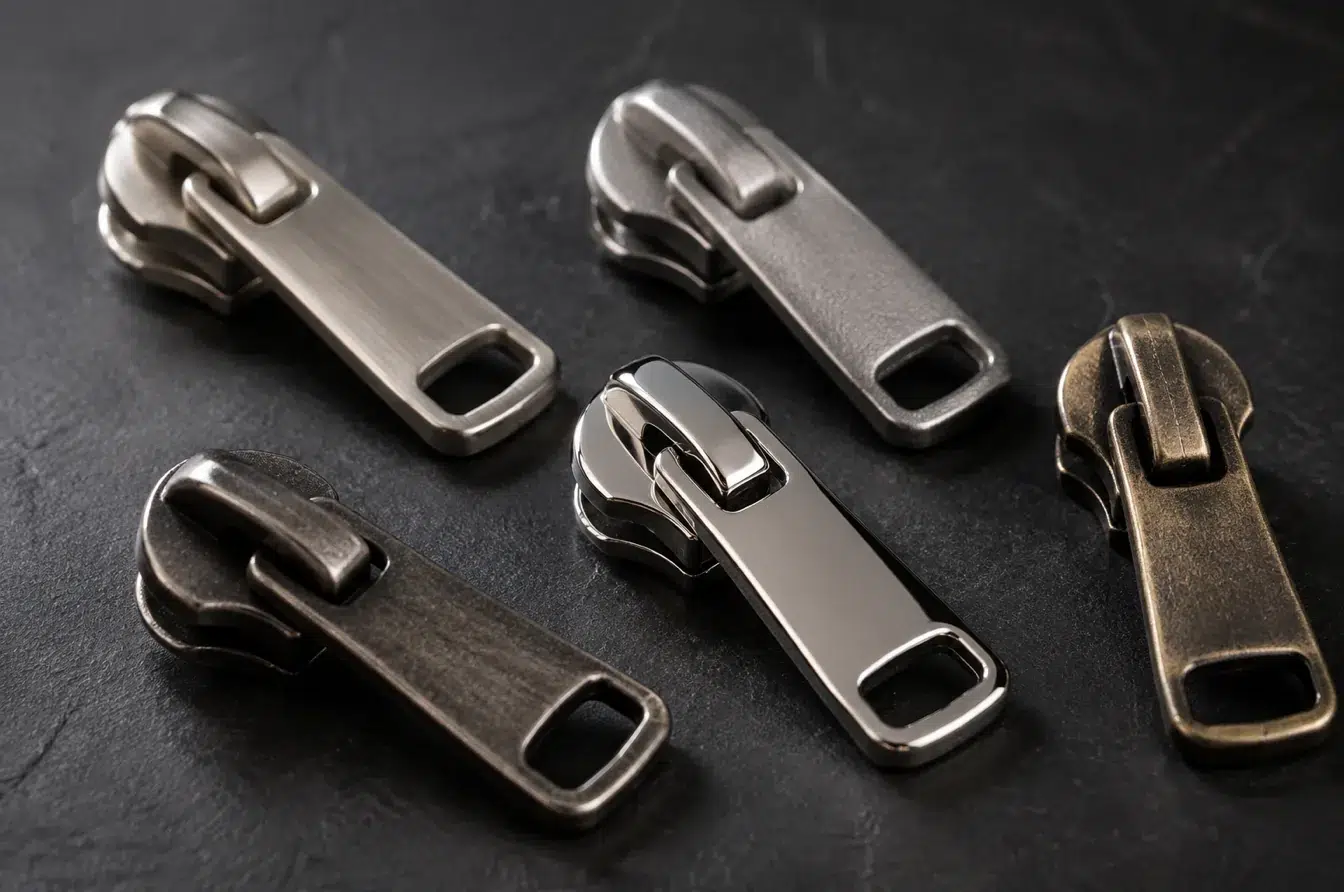
Brushed finishes show directional lines, mirror polishing creates sharp reflections, sandblasting produces diffuse matte texture, tumbling softens surfaces and edges, and antique finishing develops intentionally varied dark and bright areas.
Reading Light, Texture, and Visual Character
A brushed finish has a visible linear grain. It reflects light softly rather than forming a clear image, so it often feels controlled, modern, and understated. The direction of the grain is part of the design. A vertical grain on a rectangular logo plate can create a different impression from a horizontal grain, while inconsistent directions across a buckle set can make matching parts appear unrelated.
Mirror-polished hardware sits at the opposite end of the visual range. Its smooth surface produces strong highlights and sharp reflections, giving small components a jewelry-like presence. That brightness also exposes fingerprints, light scratches, surface waves, casting pits, and poorly removed parting lines. The finish can look highly refined, but only when the underlying part is equally refined.
Sandblasting creates a fine, non-directional texture that scatters light evenly. The result is usually quieter and more technical than brushing. Tumbling tends to produce a soft, natural sheen with rounded transitions rather than a deliberately drawn grain. Antique effects use controlled tonal variation, often leaving recesses darker and raised areas brighter. This contrast can make embossing, engraving, and relief details appear deeper.
| Finish | Reflection | Visible texture | Typical design character | Main visual risk |
|---|---|---|---|---|
| Brushed | Soft satin reflection | Directional linear grain | Modern and restrained | Misaligned or uneven grain |
| Mirror-polished | Very high | Smooth and reflective | Jewelry-like and formal | Defects and handling marks become obvious |
| Sandblasted | Low and diffuse | Fine, even matte texture | Technical and minimal | Uneven blasting or softened detail |
| Tumbled | Low to medium | Softened, naturally even surface | Casual and practical | Excessive rounding or contact marks |
| Antique | Varied highlights | Dark recesses and brighter raised areas | Vintage and dimensional | Uncontrolled tonal variation |
How Are Brushed, Mirror-Polished, Sandblasted, Tumbled, and Antique Finishes Produced?
Similar-looking samples may come from very different processes, and those routes affect repeatability, cost, edge definition, and the final coating.
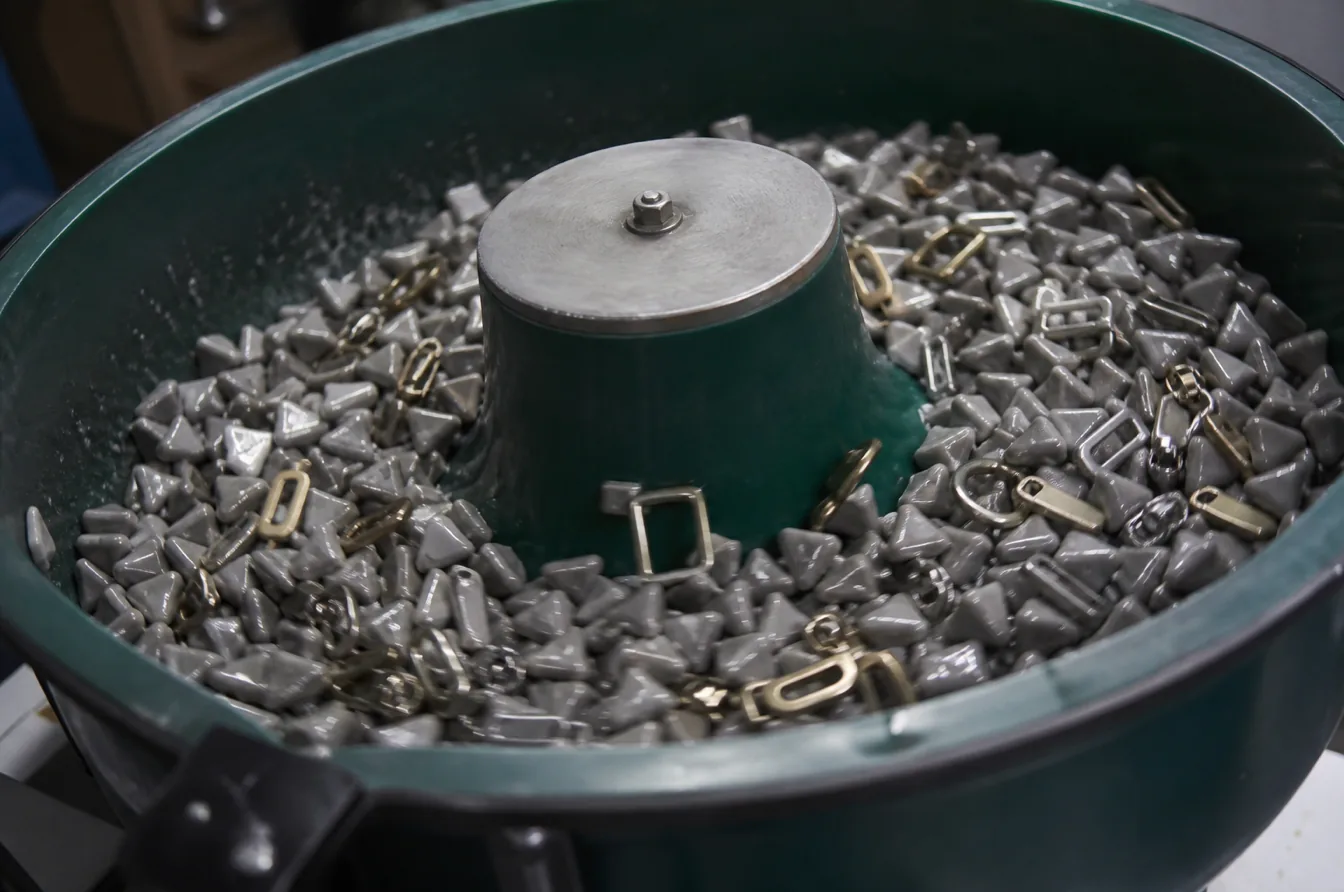
Brushing and polishing use controlled abrasion, blasting propels finishing media onto the surface, tumbling moves parts with media in batches, and antique effects combine darkening, selective highlighting, and protection.
What Each Process Does to the Metal Surface
Brushing uses abrasive belts, wheels, brushes, or pads to cut fine lines into the surface. Abrasive grade, pressure, speed, tool condition, and travel direction influence the width, depth, and uniformity of the grain. Large flat faces show these variables clearly, while curves, recesses, and narrow edges require careful tool access to avoid broken or crossed lines.
Mirror polishing normally moves through several abrasive stages. Coarser marks are removed first, followed by progressively finer refinement and buffing until the surface becomes highly reflective. Skipping a stage may leave scratches beneath the final shine. Heat and pressure also need control because excessive polishing can soften crisp edges, create local waves, or distort small cast details.
Sandblasting directs fine media at the component. Media composition, particle size, particle shape, pressure, distance, angle, and exposure time determine whether the result is a delicate frost or a stronger matte texture. Tumbling places parts in rotating or vibrating equipment together with selected media, liquid, and finishing compounds. It can deburr, smooth, brighten, or prepare parts for later coating. Antique finishing usually builds tone first, then selectively exposes high points or edges before a protective layer stabilizes the intended appearance.
| Process | Main controls | Useful result | Common control point |
|---|---|---|---|
| Brushing | Abrasive grade, pressure, direction, tool wear | Consistent satin grain | Grain continuity between faces and parts |
| Mirror polishing | Abrasive sequence, buffing, pressure, heat | Smooth high reflection | Remaining pits, scratches, and surface waves |
| Sandblasting | Media, particle size, pressure, angle, time | Uniform non-directional matte | Coverage in recesses and protection of fine details |
| Tumbling | Media type, load ratio, speed, compound, cycle time | Deburring and overall smoothing | Part contact, dimensional change, and media lodging |
| Antique finishing | Base tone, wiping, highlighting, sealing | Aged contrast and relief | Repeatable balance between dark and bright areas |
How Do the Base Metal and Part Design Affect the Final Surface Finish?
A finish cannot compensate for unsuitable material, weak casting quality, inaccessible geometry, or details that are too shallow for the chosen process.
Base-metal hardness, porosity, color, and corrosion behavior influence finishing results, while part shape controls tool access, reflection, media contact, coating build, and preservation of detail.
Matching the Finish to the Substrate and Geometry
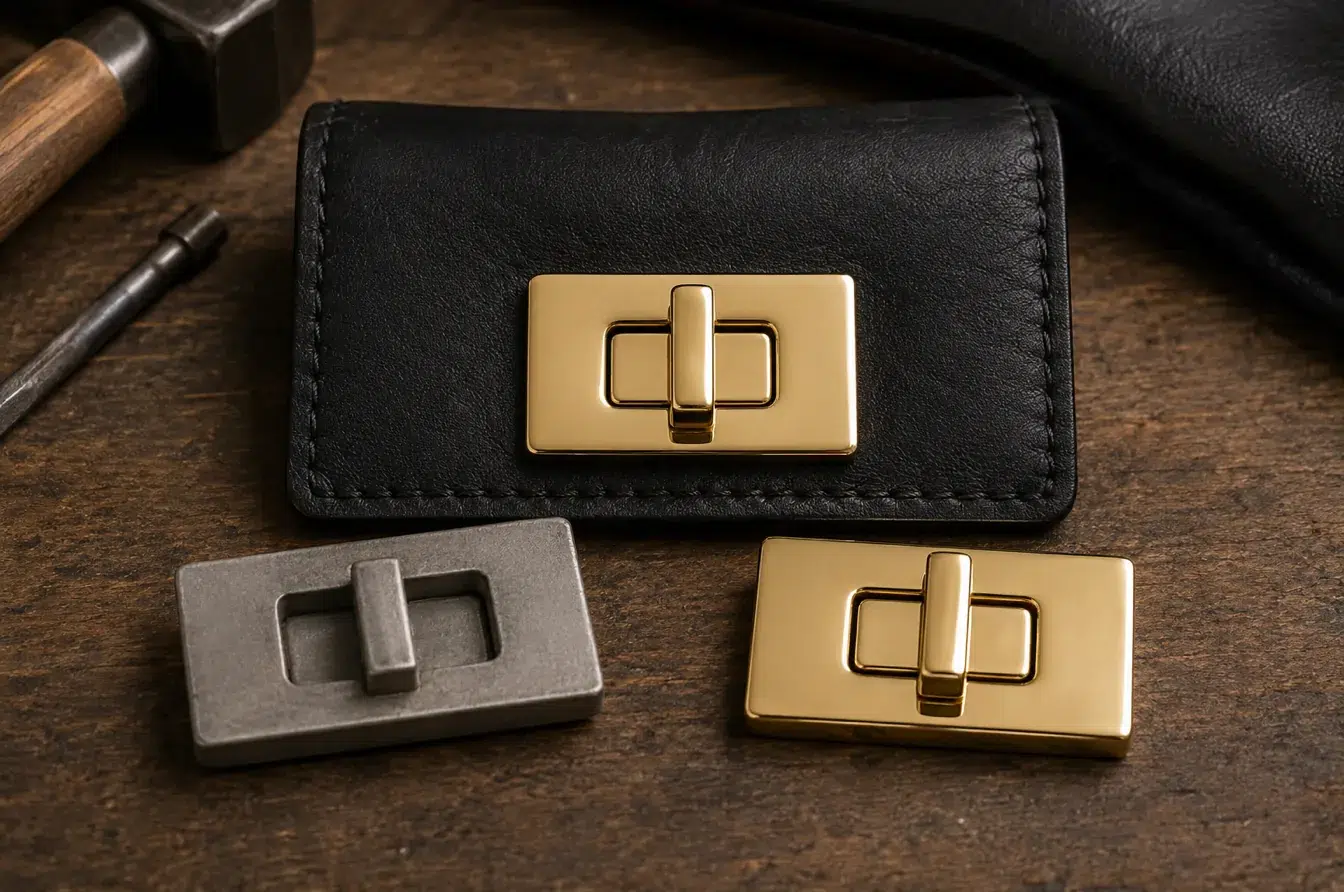
Stainless steel can support crisp brushing, strong mirror polishing, and fine blasted textures because the visible surface may be developed directly on the metal before a decorative color layer is added. Brass also polishes and plates well, and its warm underlying tone can complement heritage or antique effects. Zinc alloy is widely used for complex custom shapes, but casting pores, gate marks, parting lines, and local waviness need careful correction when a mirror finish is required. Aluminium is lightweight and responds well to brushing or blasting, but thin walls and soft edges require gentler processing.
Geometry changes the result even when the process remains the same. A broad flat logo plate can display a clean brush direction, while a small curved hook may show interrupted grain. Deep recesses may remain darker or less polished because tools and media reach them differently. Tumbling media can enter holes, slots, and undercuts, and unsuitable media dimensions may become trapped. Long cycles can also reduce the depth of shallow engraving or round an edge that was intended to look sharp.
The coating route must be considered at the design stage. Thin metallic coatings retain much of the prepared texture, so surface defects remain visible. Thicker painted finishes may cover small variations but can also fill narrow gaps, soften engraved lines, and change the fit of moving parts. The most reliable assessment uses the actual part rather than a flat color plate.
| Design factor | Effect on finishing | Practical specification point |
|---|---|---|
| Broad flat face | Shows grain, waviness, and gloss variation clearly | Define visible direction and acceptable uniformity |
| Curved reflective face | Produces changing highlights and amplified distortion | Review from several viewing angles |
| Fine engraving | May soften during polishing, blasting, or tumbling | Confirm minimum retained definition on samples |
| Deep recess | Receives different abrasion, cleaning, and coating coverage | Identify the intended recess tone and texture |
| Hole or narrow slot | Can trap tumbling media or collect coating | Confirm clear opening and post-process cleaning |
| Moving interface | Finish thickness and roughness can affect operation | Test the assembled component after finishing |
Which Finish Best Suits Different Fashion Hardware Applications and Wear Conditions?
Choosing by appearance alone can create rapid cosmetic change when a component meets friction, skin contact, moisture, cleaners, or repeated movement.
Brushed finishes balance refinement and wear concealment, mirror finishes maximize visual impact, sandblasting creates modern matte character, tumbling suits softened high-volume parts, and antique finishes support aged storytelling.
Selecting by Contact Level and Design Intent
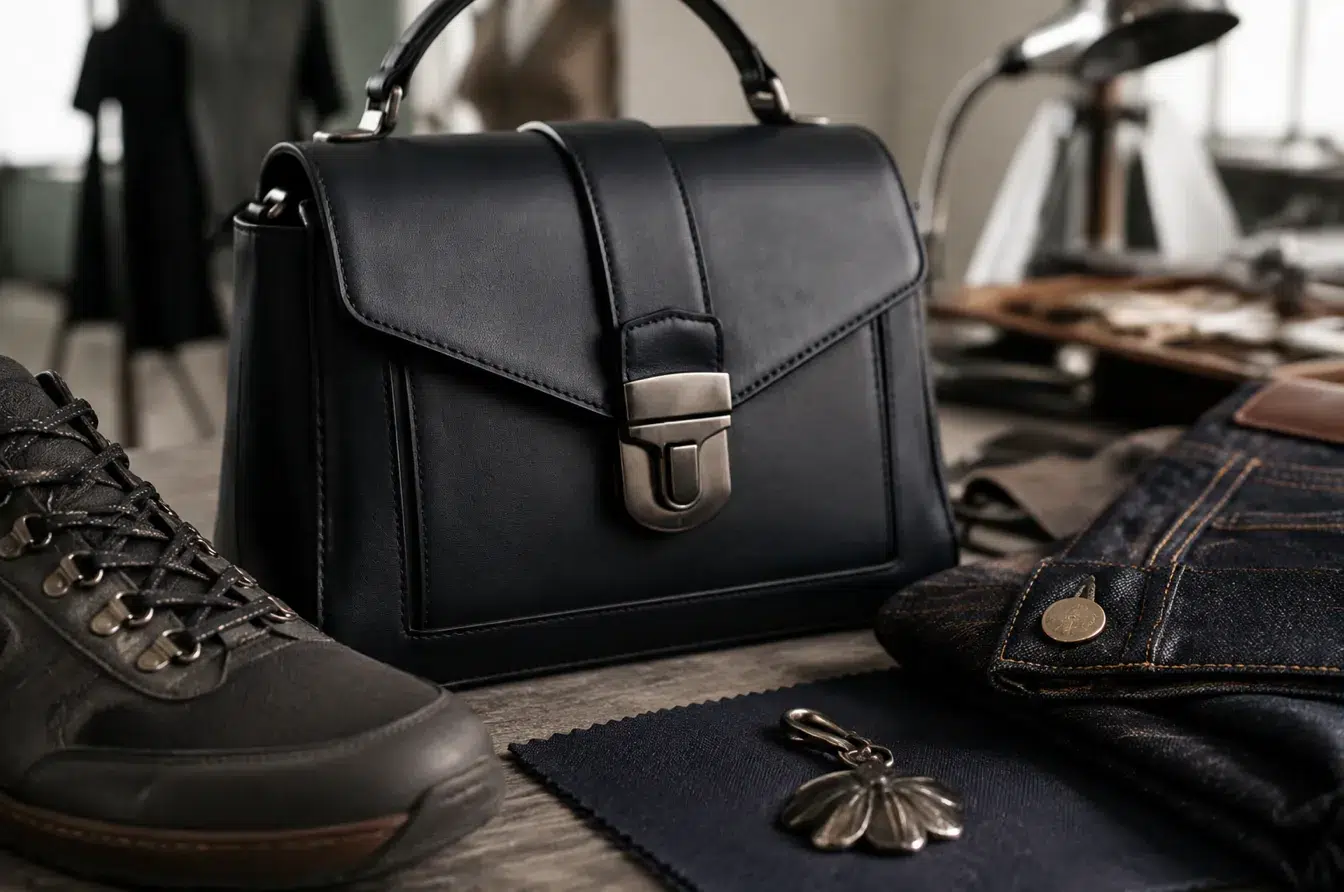
Brushed finishing is a strong starting point for hardware that needs a premium metallic appearance without the visual sensitivity of a mirror surface. Fine handling marks tend to blend into its grain, which makes it suitable for buckles, clasps, logo bars, zipper pulls, and other parts touched frequently. Grain direction still needs to support the shape and remain consistent across a coordinated set.
Mirror polishing is most effective where brilliance is central to the design. Logo charms, decorative locks, polished adjusters, and jewelry-like trims can gain strong shelf impact from reflected light. It is less forgiving on parts that rub continuously against leather, fabric, tables, or adjacent hardware. Placement and expected handling should therefore be considered before choosing the highest possible gloss.
Sandblasting suits technical, minimalist, sport-inspired, or unisex products that need a quiet matte surface without visible lines. Tumbling is practical for small parts requiring burr removal, smoother touch, and efficient batch processing, provided that fine detail and edge sharpness are not critical. Antique finishing works best when relief, engraving, or cast texture can carry darker recesses and brighter highlights. The exposure zone remains more important than the industry label: a protected plaque and a high-contact buckle on the same product may need different finish strategies.
| Application condition | Suitable starting direction | Reason | Point to validate |
|---|---|---|---|
| Frequent hand contact | Brushed or softly tumbled | Minor handling marks are less visually dominant | Texture consistency after repeated use |
| Decorative focal point | Mirror-polished | Strong light response and luxury impact | Fingerprints, scratches, and substrate defects |
| Technical matte styling | Fine sandblasted | Even diffuse reflection without directional grain | Surface uniformity and retained logo detail |
| Small deburred component | Tumbled | Smooth touch and efficient overall processing | Edge radius, dimensions, and part contact marks |
| Embossed heritage detail | Antique | Dark and bright contrast strengthens relief | Tonal range, sealing, and transfer to nearby material |
| High-friction moving part | Finish selected with the complete coating system | Appearance alone does not predict wear | Assembly movement and visible contact zones |
How Should Finish Samples and Quality Standards Be Approved Before Mass Production?
Verbal descriptions such as “matte gold” or “vintage silver” leave too much room for different suppliers, operators, and production batches to interpret the brief.
Approval should use a production-intent master sample supported by written limits for substrate, process route, color, gloss, texture, critical faces, acceptable marks, and viewing conditions.
Turning an Appearance Request into a Production Standard
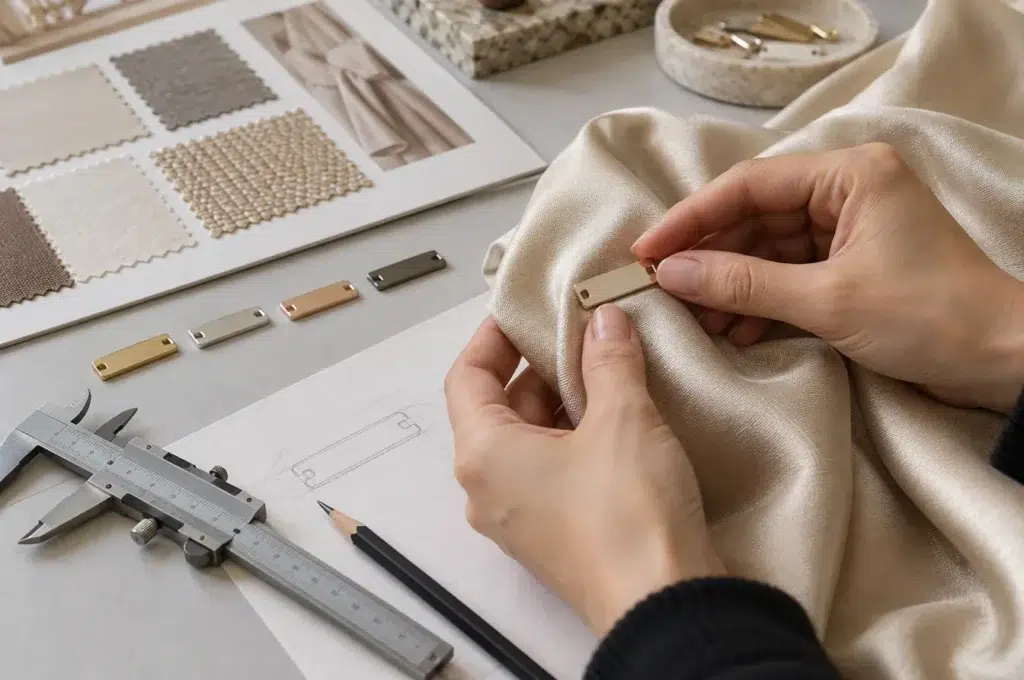
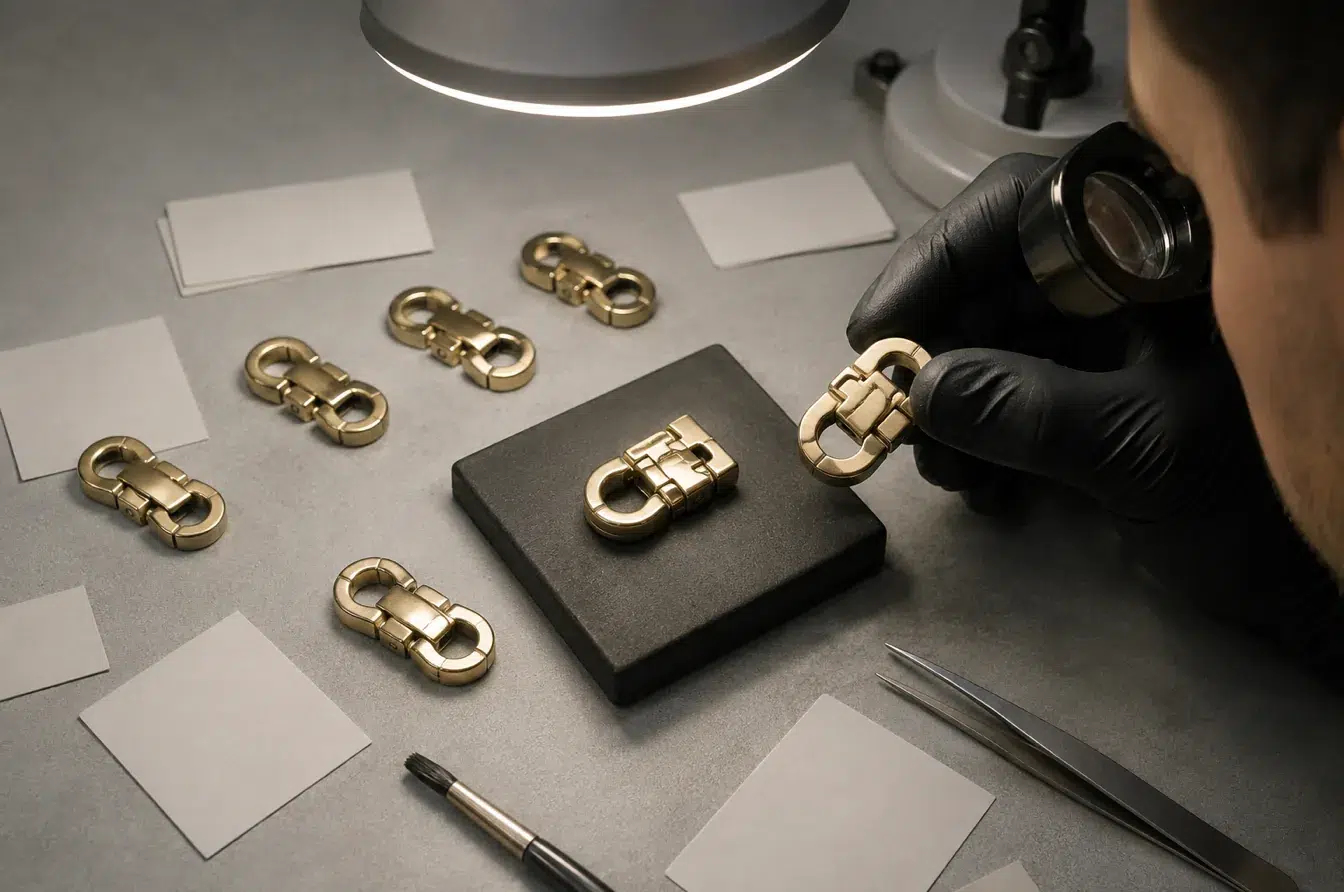
The approval sample should be made from the intended base metal and actual component geometry. A flat sample plate cannot show how light moves across a curved buckle, how brushing changes around corners, how antique tone settles into recesses, or how tumbling affects an engraved logo. Samples should also use the planned surface preparation, finishing process, decorative layer, and protective topcoat so the approved appearance reflects the real production route.
The written record should define which surfaces are visually critical and which areas may carry fixture, rack, gate-removal, or contact marks. Brushed parts require a stated grain direction. Mirror-polished parts need clear limits for pits, scratches, waves, and haze. Sandblasted parts need an agreed texture level and uniform coverage. Tumbled parts require limits for edge rounding, dimensional change, and part-on-part marks. Antique parts need a reference for the balance between dark recesses, bright highlights, and acceptable tonal variation.
Inspection conditions also matter. The same metallic finish can appear different under warm showroom light, cool factory light, daylight, or strong directional illumination. Comparison should therefore use consistent lighting, viewing distance, angle, and background. A retained master provides the most practical reference for repeat orders. New approval is appropriate when the base material, finishing chemistry, equipment, process sequence, production site, or specialist supplier changes in a way that could affect the result.
| Approval item | What should be recorded | Why it matters |
|---|---|---|
| Base material and part version | Alloy, geometry, and approved production drawing | Different substrates and shapes change the visible finish |
| Surface preparation | Polishing, brushing, blasting, or tumbling route | The decorative layer follows the prepared surface |
| Color and gloss | Physical master and acceptable visual range | A color name alone cannot control metallic appearance |
| Texture | Grain direction, blast character, or antique contrast | Texture changes both light response and perceived color |
| Critical faces | Priority surfaces and allowed hidden marks | Inspection effort stays focused on visible product areas |
| Assembly condition | Finished part tested in the final mechanism | Coating thickness and roughness can affect fit and movement |
| Repeat-order control | Retained master and triggers for reapproval | Process changes can create drift between production batches |
Conclusion
The right finish aligns visual character, substrate quality, component geometry, wear conditions, and production control instead of relying on a broad surface-effect name alone.