- Loading...
Custom fashion hardware can look perfect in a rendering yet become too heavy, weak, expensive, or difficult to reproduce when development reaches the factory.
The best balance begins by ranking product requirements, then matching material, structure, process, finish, and testing to the application. A successful solution protects function and brand value without paying for weight or complexity the customer does not need.

In practice, I do not look for one material or process that wins every category. The better approach is to protect requirements that cannot move and use value engineering everywhere else.
Which Product Requirements Should Be Defined Before Customizing Fashion Hardware?
When every requirement is called important, suppliers cannot tell where to protect performance and where they may simplify the design to control cost.
Define the application, non-negotiable functions, appearance priorities, target weight, environment, volume, and commercial limits before comparing metals or requesting tooling.

Turn the Product Brief into a Weighted Decision
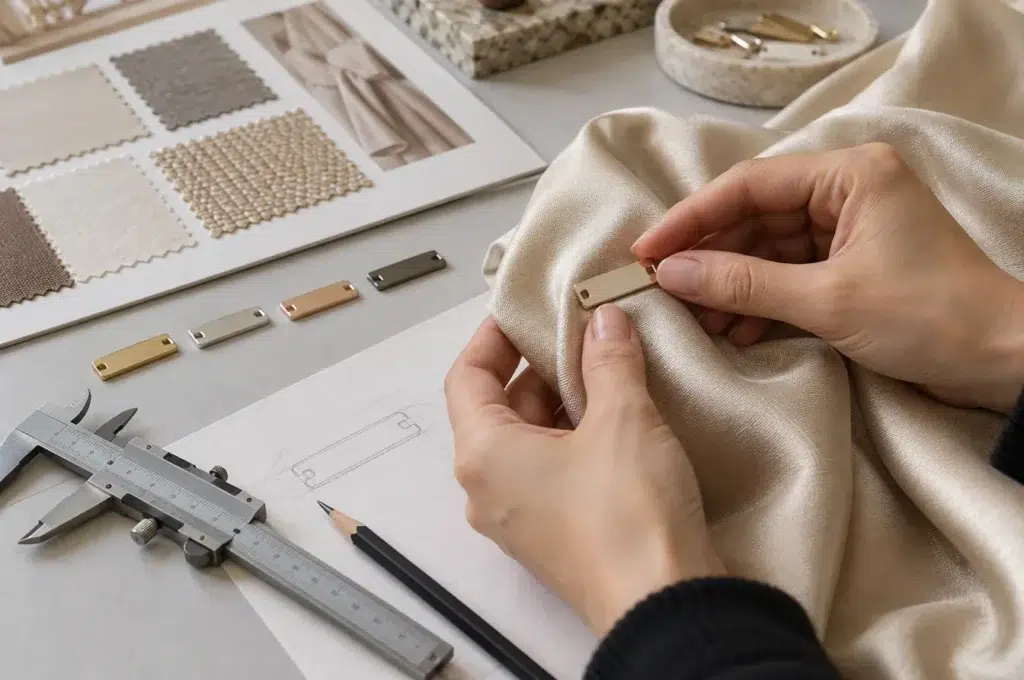
Begin with the finished product rather than the component. A buckle on a light dress, a handbag turn lock, and a footwear hook may share a finish color, but they do not carry the same loads or create the same user experience. The garment part must respect drape, comfort, fabric strength, and wash care. The bag closure may need a deliberate hand feel, repeated operation, and resistance to strap loads. The footwear part may face impact, abrasion, pressure points, sweat, and flexing.
Convert this context into a short decision matrix. First, mark requirements that must pass, such as attachment security, safe edges, opening force, corrosion behavior, or a maximum component weight. Then rank the requirements that can trade against one another. A signature clasp may justify more mass and a higher finish cost because the customer sees and touches it. A hidden ring may need strength but little decorative polishing. A secondary trim may need only visual consistency.
This ranking also makes supplier proposals easier to judge. If a supplier recommends a cheaper alloy, thinner wall, or different process, ask which ranked requirement would change. The discussion then moves away from opinions such as “premium” or “strong” and toward solutions measured against the same product priorities.
| Requirement | Decision question | Typical control |
|---|---|---|
| Aesthetics | Which faces, edges, logos, colors, and textures create brand recognition? | Master sample, drawing, finish reference, and visible-surface map |
| Weight and comfort | Where will the user feel the hardware, and what can the product support? | Target part weight and assembled-product assessment |
| Strength and function | What load, movement, impact, or retention duty must the part survive? | Load direction, operating cycle, deformation, and failure limits |
| Environment | Will it meet sweat, washing, rain, salt, abrasion, or chemicals? | Exposure conditions and approved appearance or function limits |
| Commercial scope | What volume, target cost, launch date, and repeat pattern are realistic? | Price tiers, tooling budget, MOQ, and development schedule |
Separate Non-Negotiables from Value-Engineering Zones
Once the priorities are ranked, divide the hardware into protected zones and flexible zones. Protected zones include load paths, attachment interfaces, skin-contact edges, mating dimensions, moving surfaces, and signature details that define the brand. Flexible zones may include hidden wall thickness, backside texture, polish level on non-visible faces, internal cavities, secondary components, and packaging configuration. This separation gives the supplier room to reduce cost without weakening the product’s identity or performance.
Failure must also be defined in practical terms. “Lightweight” is incomplete unless the concern is identified as garment sagging, bag carry comfort, footwear pressure, or shipping weight. “Strong” is incomplete without a load direction, acceptable deformation, safety factor, and a decision about testing the loose part or the assembled product. “Premium finish” is incomplete unless the visible surfaces, gloss, tone, texture, and wear limits are controlled.
Volume belongs in this discussion from the beginning. A fully custom mechanism may make sense for a repeat program, but tooling can dominate the economics of a limited collection. For a smaller run, adapting an existing body with a custom logo, dimension, or finish may offer a better balance. Compare total development cost, sampling, minimum order quantity, unit price, expected repeats, and approval risk. This prevents a low unit price from hiding an unsuitable tool investment or an unrepeatable process.
Which Materials Best Balance Weight, Strength, Finish, and Cost?
Choosing a metal by reputation alone can create the wrong weight, geometry, surface route, or price for the actual fashion product.
Select the material together with the part geometry, process, finish, environment, and order volume because the same metal can perform very differently in another design.
Compare Material Systems, Not Material Names
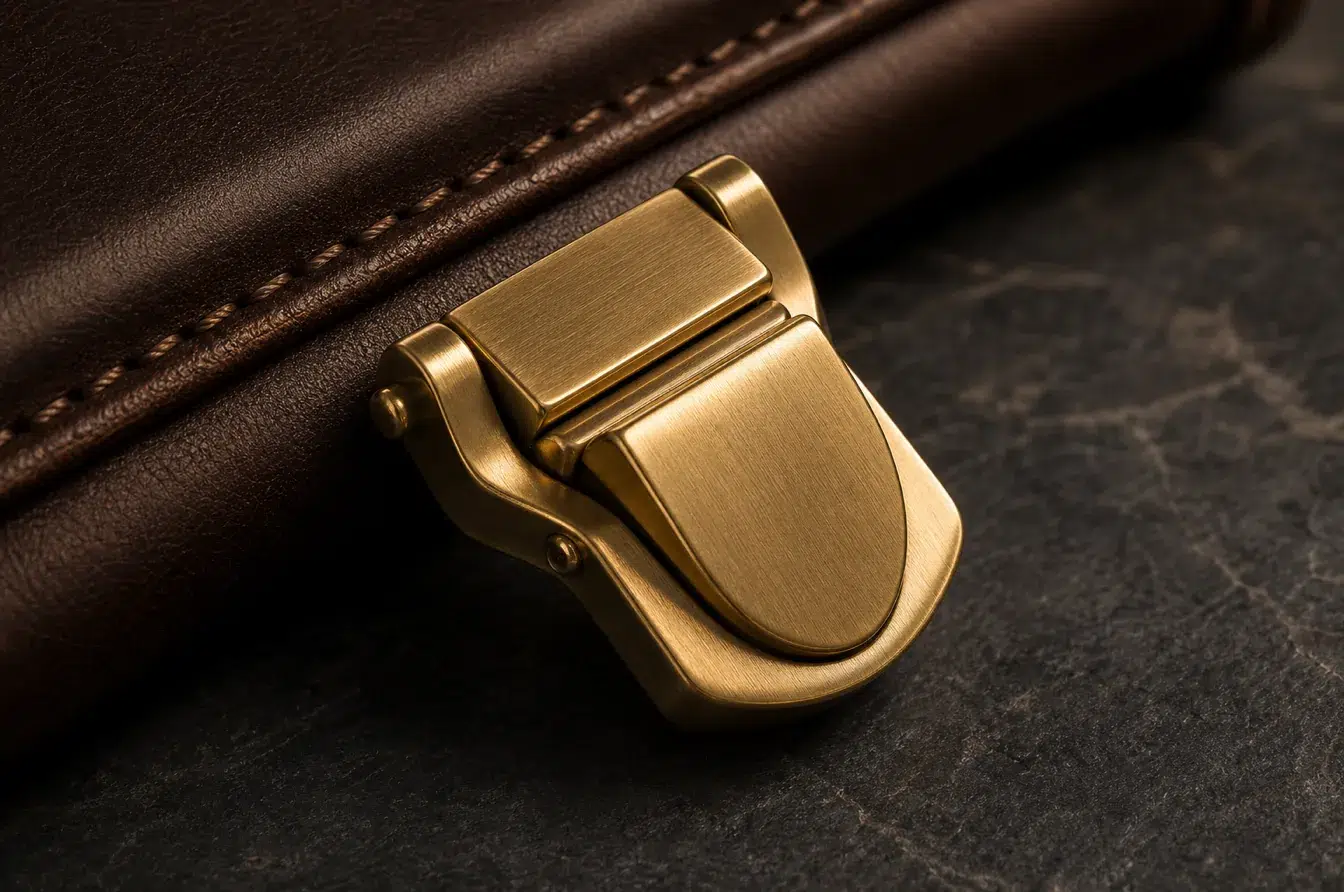
Treat every option as a material-and-process system. Zinc alloy is useful for detailed die-cast forms, deep relief, integrated logos, and economical production after tooling. It can create complex decorative parts efficiently, but section thickness, porosity, plating preparation, and load direction still need control. Brass offers a dense, substantial feel and can support premium polishing, stamping, machining, and many finish directions. That same density can become a problem on a light garment or a hardware-heavy bag.
Stainless steel can provide high structural and corrosion performance, especially when the geometry suits stamping, forming, wire work, or machining. However, tool wear, forming difficulty, machining time, welding, and surface finishing can increase cost. Carbon steel can be an efficient choice for strong stamped parts, but the finish system must protect it where corrosion is a concern. Aluminum provides a major weight reduction and can work well when the geometry distributes load. It is less forgiving when a small section receives concentrated impact, thread stress, or repeated deformation.
Ask the supplier to quote specific feasible constructions instead of allowing an unrecorded material substitution. The comparison should include estimated part weight, tool route, surface preparation, finish availability, expected variation, test plan, and price at the real order quantity.
| Material option | Main advantage | Main design caution | Often suitable for |
|---|---|---|---|
| Zinc alloy | Detailed die-cast geometry and broad decorative finish options | Wall transitions, porosity, concentrated loads, and plating preparation | Logo plates, decorative buckles, zipper pulls, and shaped trims |
| Brass | Premium mass, good surface character, and versatile forming or machining | High density and potentially higher raw-material cost | Signature clasps, buckles, plates, and heritage-style details |
| Stainless steel | Strength, wear resistance, and corrosion performance | Forming, machining, tooling, and finishing cost | Functional rings, hooks, clasps, and exposed structural parts |
| Carbon steel | Efficient strength for suitable stamped or wire forms | Corrosion protection and edge or weld finishing | Rings, frames, reinforcement parts, and high-volume stampings |
| Aluminum | Very low weight and useful anodized surface options | Local impact, thread strength, thin edges, and finish matching | Lightweight trims, larger low-load forms, and selected bag parts |
Place Premium Material Where the Customer Perceives It
More weight does not automatically create more quality. Mass should be used deliberately. A signature clasp can benefit from a controlled, substantial action because the customer handles it and associates that feel with the product. The same mass repeated across rings, strap ends, rivets, feet, and internal attachments can make the finished bag tiring to carry. On garments, excess hardware weight can distort drape, pull seams, or make the component swing during movement.
A mixed-material set is often the stronger design strategy. In many projects, I reserve brass or stainless steel for a prominent closure, while secondary decorative parts use zinc alloy and hidden structural pieces use stamped steel or another efficient construction. The set can still share a common plating tone, gloss, texture, edge language, and logo proportion. The customer sees one coherent family, but the brand does not pay the highest specification on every component.
This strategy needs finish trials because different base metals do not always produce identical color and gloss through the same nominal plating description. Group the components as they will appear on the product and approve them together under controlled lighting. Also check galvanic compatibility, coating coverage, and moisture traps when dissimilar metals meet in one assembly.
The final choice should follow perceived value rather than a simple material hierarchy. If finish, proportion, movement, and placement deliver the premium experience, unnecessary mass can be removed. The savings can then support better tooling, more reliable surface preparation, tighter control of critical dimensions, or meaningful durability testing.
How Can Structural Design Reduce Hardware Weight Without Sacrificing Strength?
Simply thinning every surface may reduce grams, but it can also create bending, sink marks, sharp edges, poor filling, distortion, or early fatigue.
Remove material away from the load path, then use section shape, ribs, radii, reinforcement, and attachment design to recover stiffness and durability.
Design the Load Path Before Removing Material
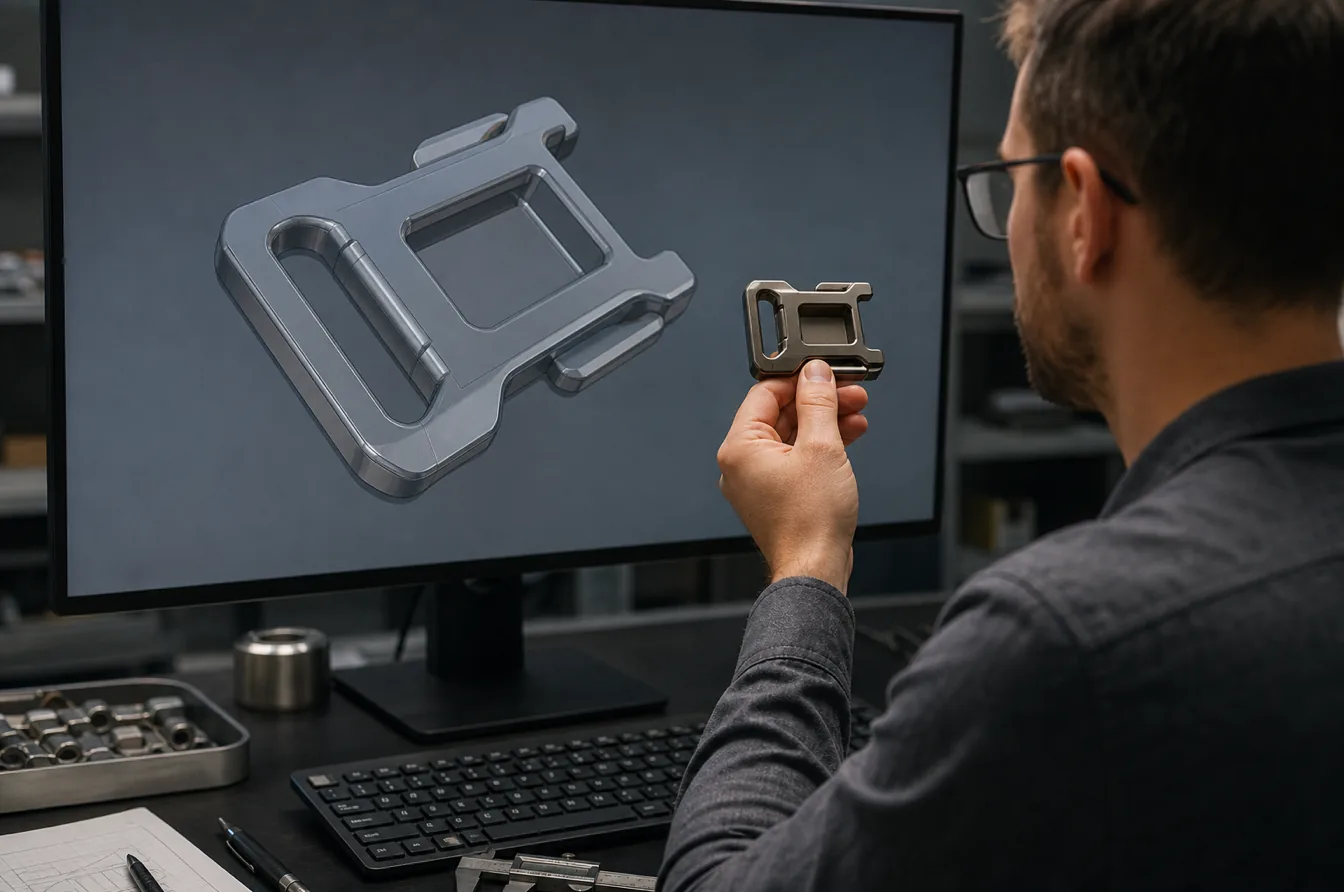
First map how force enters, travels through, and leaves the component. On a buckle, the load may move from webbing to a bar, through the frame, and into the opposite attachment. On a ring, the critical region may be the section beside a joint or the point where a narrow strap concentrates force. On a logo plate, structural demand may come mainly from prongs, pins, screws, or the receiving material rather than the visible face.
The load map shows where mass remains useful. Protect bearing surfaces, attachment roots, corners under tension, moving interfaces, and sections exposed to impact. Remove material from low-stress backs, broad decorative faces, and enclosed volumes. A shallow shell, recessed backside, hollow section, formed return, or controlled pocket can reduce weight while keeping the visible silhouette. Ribs and curved surfaces can add stiffness more efficiently than a uniformly thick wall, but they must suit metal flow, tool access, ejection, stamping direction, or machining reach.
Avoid sudden changes in section because they concentrate stress and can also create casting or finishing problems. Generous transitions and appropriate radii help distribute load. The entire assembly also needs review. A clean, visually light component may need hidden reinforcement in leather, fabric, webbing, or an internal backing plate. That reinforcement must be included in cost, thickness, comfort, installation, and test planning from the start.
| Structural decision | Weight benefit | Risk to control |
|---|---|---|
| Hollow or recessed backside | Removes hidden volume while preserving the front profile | Wall consistency, filling, sink, plating coverage, and trapped residue |
| Ribbed or curved section | Increases stiffness with less material than a thick flat wall | Tool release, polish access, sharp intersections, and visible read-through |
| Formed sheet or wire construction | Uses section geometry efficiently at low mass | Springback, seams, welds, edge condition, and dimensional repeatability |
| Local reinforcement | Keeps material around holes, bars, joints, and load entries | Abrupt section changes and interference with assembly |
| Hidden backing or interfacing | Spreads load into the fashion product | Added assembly steps, bulk, pressure points, and pull-through behavior |
Validate Thin Sections, Interfaces, and Tolerances Together
Weight reduction succeeds only when the finished part remains manufacturable. Review minimum walls, draft, bend radii, tool parting, gate position, ejector marks, cutter access, polish access, plating buildup, and assembly clearances before releasing the geometry. A thin CAD surface that looks elegant may not fill consistently in casting. A narrow stamped frame may twist after forming. A light machined part may require so much material removal that its unit cost rises instead of falls.
Control tolerances according to function. Tightening every dimension increases tool maintenance, inspection, sorting, and rejection without necessarily improving performance. Reserve tight limits for strap openings, mating parts, closure alignment, post lengths, mechanism travel, and surfaces that visibly align. Cosmetic curves and hidden pockets can often accept more variation.
Prototypes should be weighed and measured, but those numbers are not enough for approval. Install them with production-representative fabric, leather, webbing, reinforcement, and setting conditions. Then check bending, rotation, pull-through, edge abrasion, pressure points, sagging, and operating feel. Compare the reduced-weight version with a control and observe where deformation begins.
When the margin is uncertain, adjust one variable at a time. Add a radius, deepen a rib, change the section shape, increase material only beside an attachment, or revise the receiving reinforcement. This produces a lighter part for a clear engineering reason, not a fragile part created by uniform thinning.
Which Manufacturing and Finishing Processes Best Match the Design and Budget?
A visually complete CAD model can become costly when its walls, undercuts, polish areas, tolerances, or finish details conflict with the intended production process.
Choose the scalable manufacturing route before final detailing, then adapt geometry and finish specifications to its real capabilities, volume, tooling, and quality controls.
Choose the Process Before Freezing the Details
Each process rewards a different type of design. Stamping is efficient for sheet-based parts at suitable volumes, especially when bends, pierced features, and formed sections can create stiffness. It needs practical bend radii, material direction, tool access, and control of burrs and springback. Die casting supports integrated details and sculpted shapes, but draft, parting lines, wall transitions, gates, ejector locations, porosity, and secondary polishing must be managed carefully.
CNC machining offers flexibility, precision, and lower tooling dependence for prototypes or selected lower-volume parts. However, cycle time, material waste, tool reach, workholding, and polishing can make a complex mass-production part expensive. Multi-part construction can solve undercuts, movement, mixed finishes, or assembly access, but every additional component introduces another tolerance, operation, inspection point, and possible defect.
Ask suppliers to review early CAD before decorative details become fixed. The review should cover the most stable process, expected tool concept, realistic walls and radii, visible tool marks, likely weight, critical tolerances, sample route, and cost drivers. I have seen attractive designs become unnecessarily expensive because this discussion happened after the geometry was frozen. If two routes are feasible, compare total economics at the forecast volume. A higher tool cost can lower repeat unit cost, while a tool-light route can protect cash and flexibility for a small collection.
| Process | Design strengths | Cost or quality drivers | Best decision context |
|---|---|---|---|
| Stamping and forming | Thin efficient sections, repeatable profiles, and high-volume output | Die complexity, operations, springback, burr control, and secondary assembly | Sheet-based rings, plates, frames, clips, and reinforcements |
| Die casting | Detailed relief, logos, curves, and integrated shapes | Mold, slides, wall consistency, porosity, polishing, and plating yield | Medium- to high-volume decorative or shaped parts |
| CNC machining | Precision, revision flexibility, and no dedicated casting mold | Machine time, stock waste, workholding, tool reach, and surface finishing | Prototypes, lower volumes, and selected premium components |
| Wire forming | Efficient rings, loops, hooks, and open structures | Section consistency, joint quality, springback, and end finishing | Functional connectors and lightweight frames |
| Multi-part assembly | Movement, undercuts, mixed materials, and finish separation | Part count, tolerance stack, labor, fixtures, and inspection | Mechanisms or forms that one process cannot produce reliably |
Specify the Finish as a Performance System
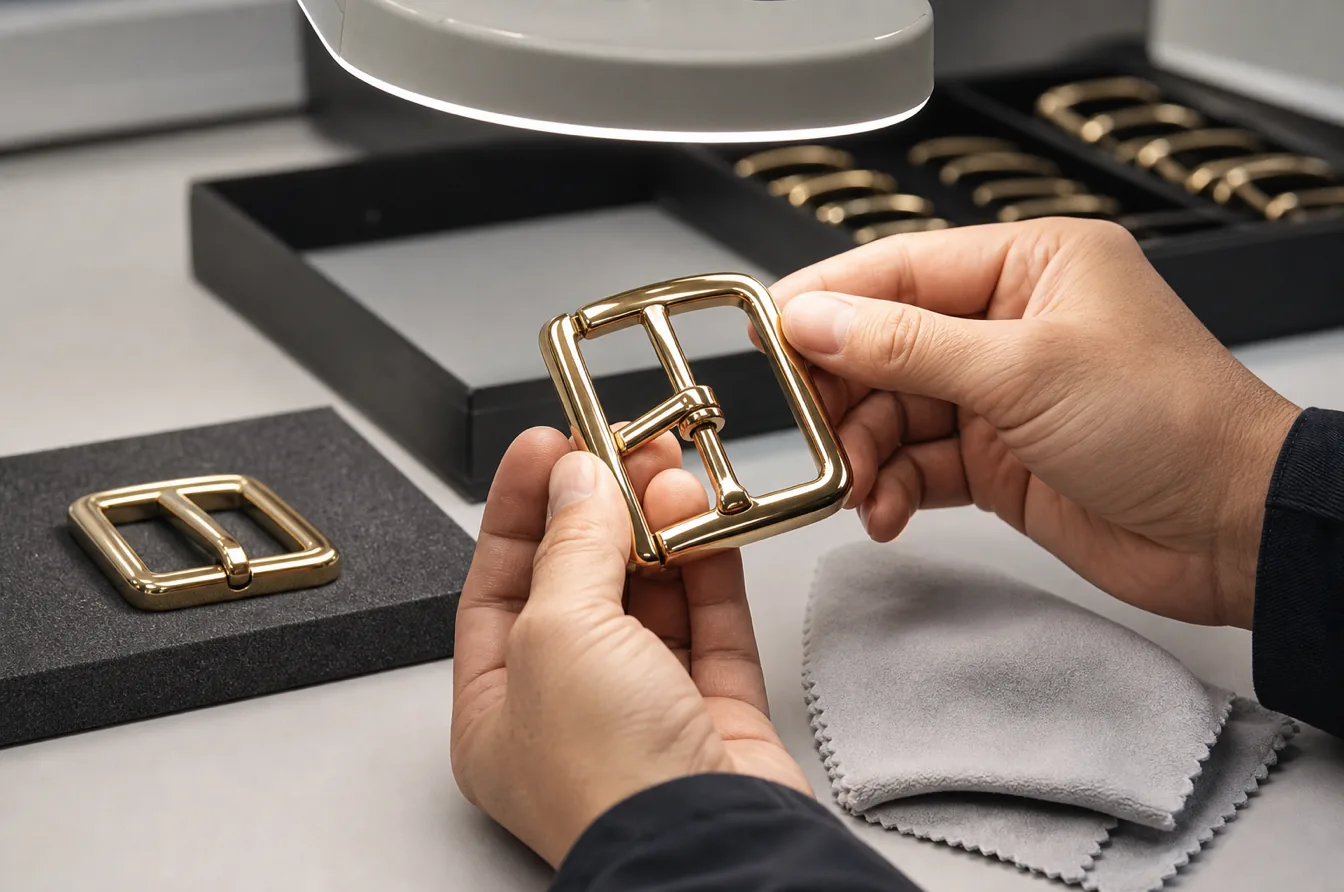
A finish should never be approved from color alone. The final surface begins with base-metal quality, casting or forming condition, deburring, polishing, cleaning, and preparation. It then depends on the coating sequence, thickness, adhesion, topcoat, curing, handling, and exposure in the product. A beautiful sample can still fail if production preparation varies or if the design contains recesses that trap chemistry and resist polishing.
Map visible and wear-critical surfaces on the drawing. Signature faces may justify fine polishing, tighter color control, and a premium coating route. Hidden backs may need cleanliness and corrosion protection without the same cosmetic labor. Moving contacts, sharp corners, zipper pulls, footwear parts, hooks, and buckle bars require special attention because friction can expose weak adhesion or thin coverage quickly.
Decorative complexity must earn measurable brand value. Deep logos, sculpted relief, mirror polish, multiple colors, separate inserts, and moving assemblies can strengthen recognition, but they also add tooling, masking, polishing, assembly, sampling, and inspection. Concentrate those costs on parts customers notice. Secondary hardware can repeat the same finish tone, edge language, or logo geometry with a simpler construction.
Request production-representative finish samples, not only hand-polished show pieces. The approval should record the base metal, preparation route, coating system, color and gloss reference, visible-surface standard, permitted variation, test condition, and packaging protection. This makes the finish a reproducible specification and allows cost to be removed where it does not reduce perceived or functional quality.
How Should Hardware Samples Be Tested Before Bulk Production?
An attractive loose sample can still damage fabric, rotate after setting, create pressure points, lose finish, or fail when the complete product carries a real load.
Test production-intent hardware in its actual assembly under realistic loads, movement, wear, environment, care, and appearance conditions before bulk approval.
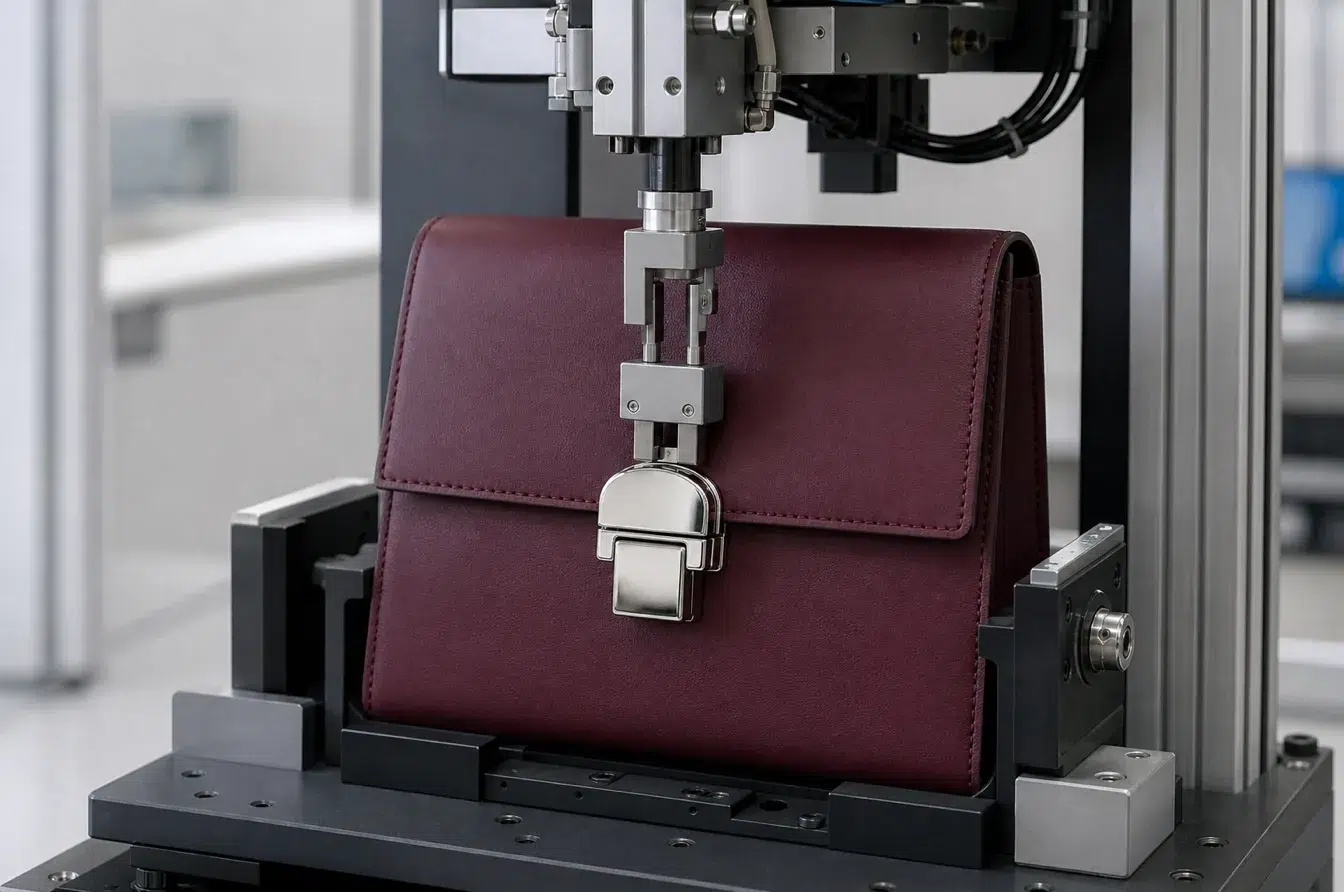
Test the Component and the Finished Assembly
Build the test plan from the ranked requirements established at the beginning. Dimensional inspection confirms critical interfaces, and weight measurement confirms the carry or drape target. Functional testing checks opening force, closure security, alignment, rotation, noise, spring action, and repeated movement. Load testing follows the real direction of use and records deformation as well as final breakage. A part that does not fracture may still be unacceptable if it bends, opens, slips, or damages the connected material.
Surface testing should reflect the intended product. Depending on the application, evaluate abrasion, sweat, washing, rain, humidity, salt, cosmetics, cleaning agents, and temperature changes. Inspect color shift, gloss loss, scratches, peeling, blistering, corrosion, residue, and transfer onto pale fabric or leather. Operate mechanisms again after conditioning because dried residue or coating wear can change friction.
The assembled test is essential. Use production-representative fabric, leather, webbing, reinforcement, hole size, thread, setting dies, pressure, and installation direction. Look for sagging, stitch stress, pull-through, edge cutting, backing impressions, pressure points, and unwanted rotation. On footwear, consider flex and wearer contact. On bags, evaluate the full load path. On garments, examine drape and care behavior. This reveals interface failures that a strong loose component cannot show.
| Validation area | What to examine | Evidence for approval |
|---|---|---|
| Dimensions and weight | Critical interfaces, alignment, clearance, and actual mass | Inspection record against drawing and target weight |
| Function and cycles | Opening, closing, adjustment, movement, noise, and wear | Defined cycle count with before-and-after observations |
| Structural performance | Load direction, deformation, slip, pull-out, and breakage | Component and assembled-product results with failure criteria |
| Finish durability | Abrasion, moisture, sweat, chemicals, color, adhesion, and transfer | Controlled exposure and comparison with an approved reference |
| Product compatibility | Drape, comfort, pressure, rotation, edge damage, and reinforcement | Installed prototype review under realistic use conditions |
Approve a Repeatable Production Specification
Do not approve only the best-looking object on the sample table. Approve a documented package that the supplier can repeat. It should include material and grade where required, dimensions and critical tolerances, part weight, manufacturing route, finish system, visible surfaces, attachment method, operating requirements, test conditions, appearance limits, packaging, and approved references. Record the drawing revision and sample identity so an earlier version cannot return during bulk production.
A sealed sample is useful, but it cannot explain every hidden variable. Pair it with drawings, finish standards, inspection methods, and limit samples for acceptable and unacceptable cosmetic variation. If a measurement or process is important to performance, place it in the production control plan. Incoming material, tool condition, polishing, plating preparation, assembly fixtures, and setting parameters may all need checks depending on the risk.
Before release, request a production-intent or pre-production sample made with the planned tool, base material, process, finish line, attachment, and packaging route. Compare it with the approved standard and repeat the critical tests. During bulk production, the inspection plan should confirm the same high-risk characteristics instead of relying on final appearance alone.
This discipline turns testing into cost control. In my experience, finding a weak design during development is far less expensive than correcting thousands of finished parts. Early evidence leaves time to change geometry, material, reinforcement, process, or finish, and it reduces disputes because the brand and supplier share the same definitions of pass, fail, and acceptable variation.
Conclusion
The best balance protects essential function and brand value, then removes unnecessary mass, complexity, process steps, and cost through controlled testing.