
- Loading...
A custom fashion hardware quote can look precise and still be unreliable when the supplier must guess the construction, finish, volume, or approval requirements.
I prepare a controlled RFQ brief that identifies the product application, design status, critical specifications, quantity, development schedule, testing, packaging, and every unresolved point that needs supplier advice.

A complete brief does not mean every technical decision must already be final. It makes the known requirements, open questions, and commercial assumptions visible. This gives each supplier the same project scope, so I can compare realistic quotations instead of comparing different interpretations of the product.
What Design Files, Samples, or Reference Images Should You Send?
If drawings, samples, and photos describe different versions, the supplier may price the wrong part or hide uncertainty inside a rough estimate.
I send the clearest available design evidence, assign every component a part number and revision, and state which file controls the quotation.
Build a Controlled Input Package
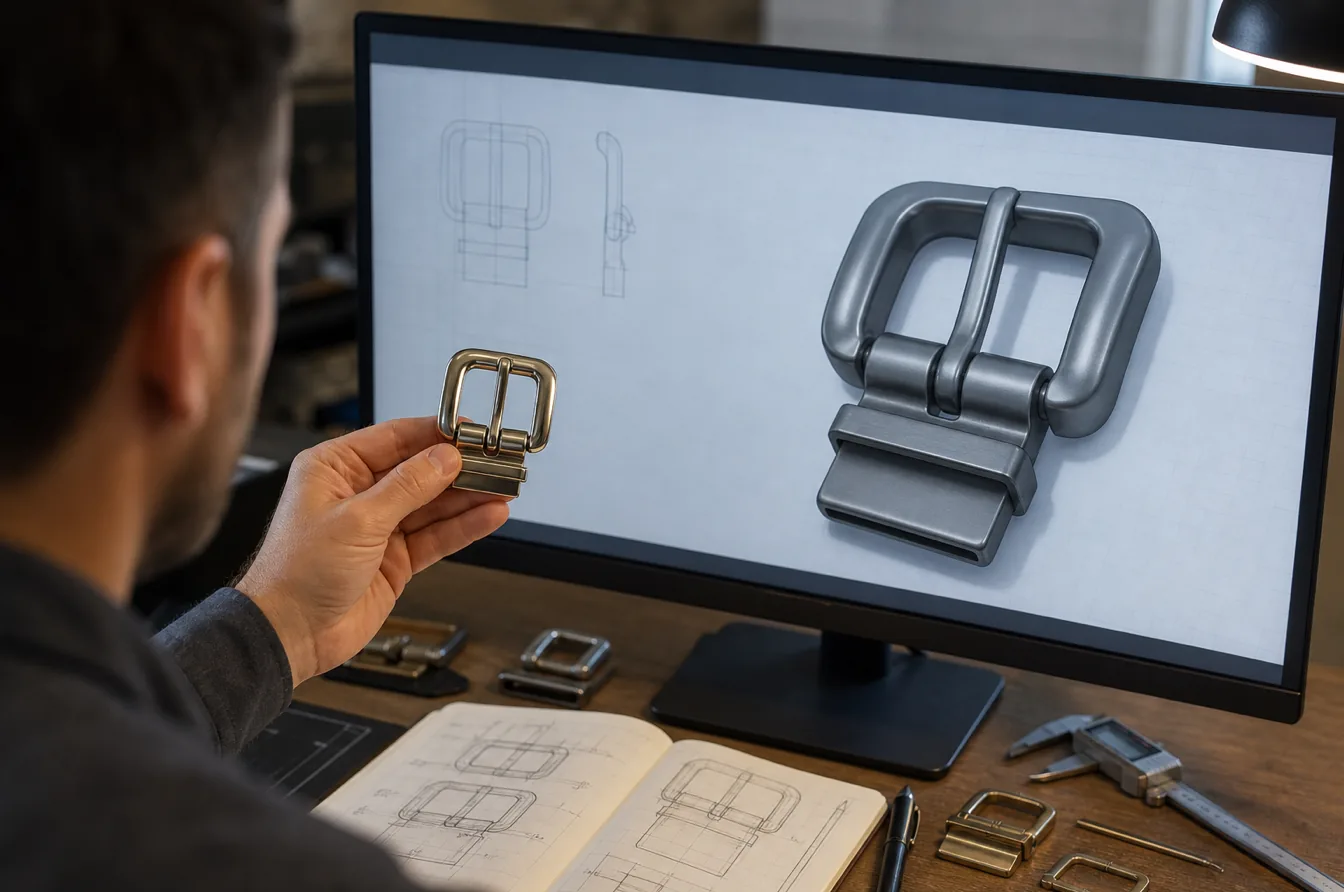
Production-ready CAD is not always necessary before starting an RFQ. I can often ask a custom fashion hardware supplier to review a vector logo, technical drawing, sketch, sample, tech pack, or clear reference image. The correct starting file depends on the design stage. A reference photo may be enough for an early cost direction, but a released mold quotation needs much more controlled geometry.
The process begins with a short product brief covering the finished product, hardware type, placement, target market, and intended function. I then prepare a component brief for every buckle, ring, hook, button, rivet, zipper puller, logo plate, or other custom part. Each component receives a unique part number, drawing or artwork reference, revision, finish, quantity, and status.
This schedule is more reliable than a folder of disconnected images. It helps the supplier connect the correct artwork to the correct attachment, finish, and order quantity. It also remains useful during sampling, approval, inspection, and repeat ordering.
| Input | What I include | What it can support |
|---|---|---|
| Technical drawing | Dimensions, tolerances, material notes, visible surfaces, attachment, and revision | Detailed feasibility review and controlled quotation |
| 3D or CAD file | Part geometry and mating context | Structure, mold, weight, and process review |
| Vector artwork | Logo outlines, size, position, relief direction, colors, and revision | Engraving, embossing, enamel, cutout, or logo-tooling review |
| Physical sample | Weight, hand feel, edge form, mechanism, finish tone, and construction reference | Reverse engineering and appearance comparison |
| Sketch or reference image | Desired shape, proportions, use, and visual direction | Preliminary quotation and supplier recommendations |
| Tech pack or hardware schedule | Part number, placement, colorway, quantity, and cross-references | Complete collection-level scope and revision control |
State What Is Fixed and What Still Needs Advice
Each requirement is labeled as confirmed, preferred, open, or supplier-proposed. This prevents a supplier from treating a visual reference as an exact production specification. It also prevents a low quote based on the easiest material or construction when the intended product needs something different.
For example, I may confirm the front logo and overall visible size but leave the base material, attachment system, and minimum wall thickness open for supplier recommendations. A gold-tone master sample can control the appearance while the exact plating stack remains open. The supplier can also check whether an existing tool can be modified before a fully custom mold is authorized.
When I send a physical reference, I explain what to copy and what not to copy. One sample may represent only the weight and opening action, while another controls the finish color. A photograph may show the desired silhouette but not the backside construction. These distinctions matter because suppliers otherwise make reasonable but different assumptions.
All quotation files stay under one revision reference. If I update the logo, dimensions, or attachment during the RFQ, the new revision identifies every replaced file. This simple discipline makes supplier comparisons more reliable and reduces the risk that old artwork returns during sampling or a repeat order.
Which Dimensions, Materials, Finishes, and Logo Details Must You Specify?
Words such as “small,” “premium metal,” and “light gold” sound clear in a design meeting but do not create a consistent manufacturing or pricing basis.
I separate geometry, interface dimensions, material, surface process, appearance standard, and logo construction because each affects feasibility, tooling, cost, and approval.
Specify the Interfaces That Control Fit
Overall length, width, and thickness are only the beginning. I identify the dimensions that connect the hardware to the finished product. These often control the mold or attachment more strongly than the visible outline.
For a buckle or adjuster, I specify strap width, strap thickness, internal opening, bar diameter, clearance, and wearing direction. A rivet, snap, or stud also needs the material stack thickness, hole size, post length, cap size, and setting direction. A zipper puller needs its slider or connector interface, while a logo plate needs the pin, prong, screw, sew-on hole, or backing-plate positions.
The brief also states which dimensions are critical to fit and which are cosmetic. Tight tolerances on every feature can increase toolmaking, inspection, and rejection costs without improving the product. A supplier should know where variation will cause assembly failure, uneven placement, sharp contact, movement problems, or a visible mismatch.
| Hardware type | Overall information | Critical interface information |
|---|---|---|
| Buckle or adjuster | Visible length, width, thickness, and weight target | Strap width, strap thickness, opening, bar size, clearance, and load direction |
| Ring or hook | Outside size, section shape, and visual proportion | Internal opening, wire or section diameter, gate clearance, and connection method |
| Rivet, snap, or stud | Cap diameter and visible height | Post length, hole size, material stack, setting die, and backside clearance |
| Zipper puller | Puller shape, length, and logo area | Slider type, connector opening, assembly direction, and movement clearance |
| Logo plate | Face size, thickness, and edge profile | Pin, prong, hole, screw, adhesive, or backing-plate layout |
Separate Material, Finish, and Appearance
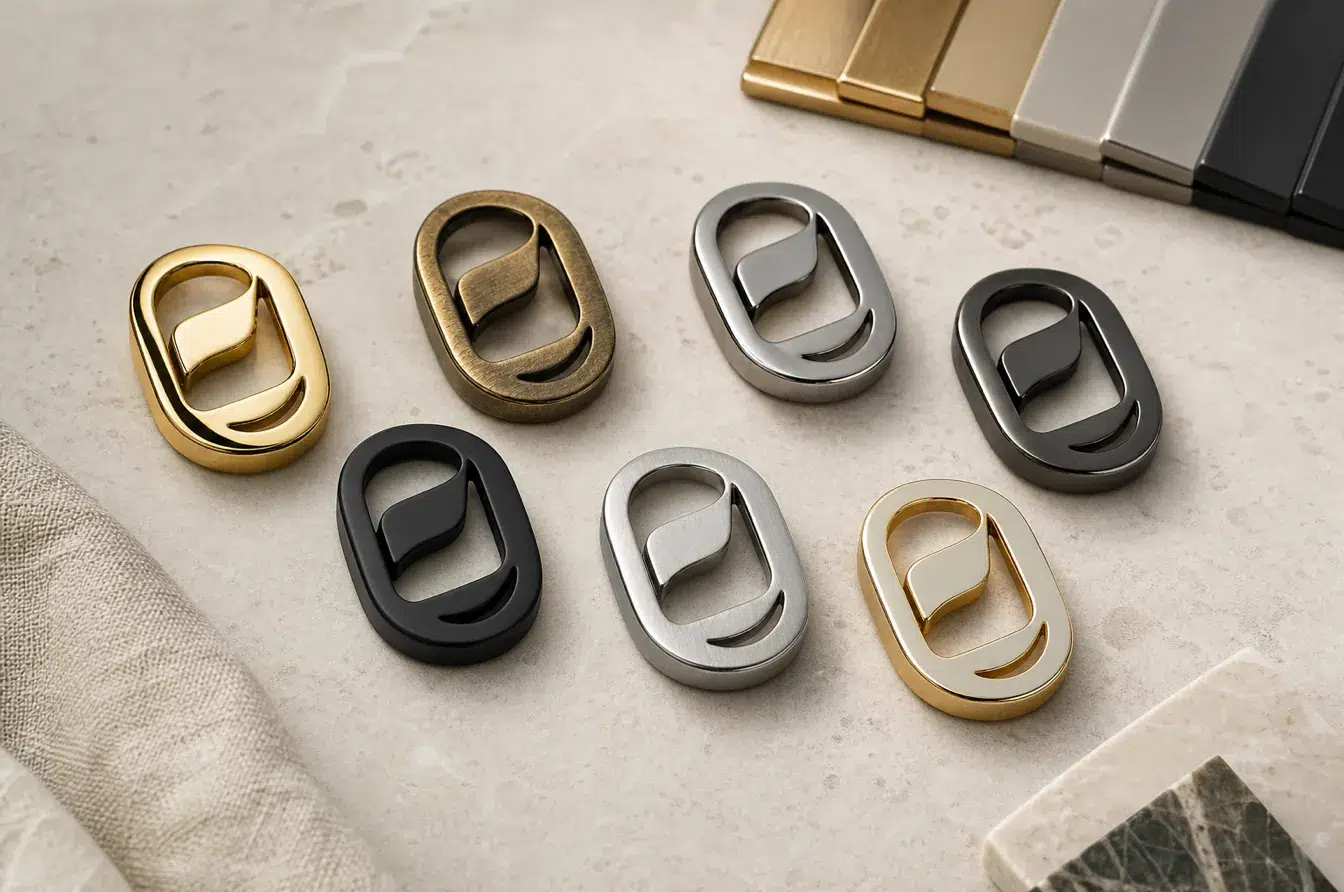
A color name never works as a complete finish specification. “Gold” does not identify whether the base is zinc alloy, brass, steel, stainless steel, or aluminum. It also does not define plating, coating, polishing, brushing, antiquing, enamel, lacquer, or another surface route.
The preferred base material and the performance reason behind it should be stated when known. The supplier then has a basis for recommending an alternative if weight, strength, corrosion behavior, geometry, or target price creates a conflict. When I am open to alternatives, the quotation should present them separately instead of silently substituting one.
For the visible surface, I define tone, gloss, texture, and the approved reference. A physical master sample is usually stronger than a screen image. A finish chip, approved supplier code, or controlled color reference can also help. If several components form one visible hardware set, I identify which parts must match and whether they should be processed together.
The logo is treated as a three-dimensional manufacturing feature. I supply vector artwork when possible and specify its final size, position, orientation, raised or recessed direction, engraving depth intention, enamel areas, cutouts, texture, and visible edge treatment. Any backside branding is also shown. A small logo change can alter draft, polishing access, plating buildup, mold release, and tool construction, so it belongs in the quotation package rather than in a late sample comment.
How Do Product Application and Attachment Methods Affect the Quote?
A supplier cannot judge structure from the front view alone because the same design may need a different backside, alloy, thickness, or test route in each product.
I explain where the hardware sits, what it must do, what material receives it, and how forces move through the finished assembly.

Describe the Finished Product and the Component’s Job
The application review begins with the finished product: garment, handbag, shoe, belt, leather good, pet accessory, or another application. I describe the hardware location and whether it provides closure, adjustment, connection, reinforcement, protection, movement, or decoration.
This context changes the quotation. A decorative plate on a handbag may prioritize crisp relief and finish matching. A ring in a strap load path needs a structural review. A zipper puller must fit its slider and move without interference. A buckle on soft apparel must not create uncomfortable edges or excessive weight. Hardware near skin, moisture, repeated flexing, or outdoor exposure may need a different material and finish route from a protected decorative trim.
The receiving material must also be included. Knit fabric, woven fabric, denim, coated textile, thin leather, thick leather, webbing, and molded polymer do not support the same attachment. I show the material thickness, reinforcement, folded layers, seam position, and available backside clearance whenever these affect installation.
| Application question | Why I answer it | Possible quotation impact |
|---|---|---|
| Where is the hardware installed? | The supplier can judge visibility, access, comfort, and exposure | Edge treatment, polish level, construction, and inspection |
| Is it decorative or functional? | The supplier can identify the relevant load and failure risk | Material, section thickness, tooling, and testing |
| What material receives it? | Attachment performance depends on the complete material stack | Post length, prong shape, backing, setting method, and sample work |
| How often does it move or open? | Repeated operation changes wear and tolerance needs | Mechanism design, cycle testing, and quality control |
| What environment will it face? | Sweat, washing, rain, salt, friction, or chemicals change surface needs | Finish system, testing, documentation, and packaging |
Treat Backside Construction as Engineering
The attachment method should be defined at the RFQ stage because the backside often determines the tool, assembly route, and risk. Prongs, pins, rivets, screws, sew-on holes, loops, backing plates, and adhesive surfaces create different geometry even when the front artwork is identical.
I show the installation direction and the assembled cross-section. This allows the supplier to check post length, material compression, folded layers, access for setting tools, rotation control, and the chance of pull-through or surface marking. When a component carries load, I also show the direction and the connected parts instead of testing the loose hardware in isolation.
If the attachment is not yet decided, I ask for two clearly separated proposals. Each proposal should identify the construction, tooling, sample cost, installation method, minimum quantity, and main tradeoff. I do not want one supplier to quote prongs while another quotes screws and then treat the unit prices as comparable.
The supplier also needs to know who will install the hardware. Factory installation, customer installation, and third-party assembly can require different setting dies, fixtures, instructions, spare-part allowances, and inspection responsibilities. When special tooling is needed, I request its price, ownership, drawing, expected life, maintenance responsibility, and replacement terms in the returned quotation.
How Do Quantity, Tooling, Sampling, and Lead Time Affect Pricing?
A single total quantity can hide multiple finishes, sizes, and designs, so the apparent order volume may not match the supplier’s actual production batches.
I divide volume by component and variation, then separate tooling, sampling, bulk production, approval time, and delivery into visible commercial stages.

Break Quantity Down by Part and Variation
The quantity brief covers the sample quantity, first bulk order, estimated annual volume, repeat-order pattern, and quantity by part number. I then divide each part by size, finish, logo version, attachment version, and colorway.
This matters because minimum quantities and setup charges may apply to each variation rather than to the collection total. Five thousand pieces divided across five plating colors may create five small finishing lots. A shared front design with three different attachments may require more than one mold. Personalized logo versions may create separate tools or handling steps.
Tiered pricing is useful when future volume is realistic. The tiers should use the same confirmed specification, so I can see how setup allocation, material purchasing, finishing, inspection, and packaging change with quantity. A target price serves only as commercial context, not as permission to remove a performance requirement without explanation.
| Quantity information | Example of what I provide | What the supplier can evaluate |
|---|---|---|
| Prototype need | 5 pieces for fit review and 10 pieces for finish approval | Sample route, setup, and material availability |
| Initial order | Quantity by part number, size, finish, and logo | True batch sizes, MOQ, and unit pricing |
| Annual forecast | Expected yearly volume and release frequency | Tooling choice, capacity, and repeat-order economics |
| Variation matrix | Number of colors, sizes, attachments, and personalized designs | Separate setup, molds, fixtures, or handling |
| Price tiers | Practical quantities for the same released specification | Volume effect without changing the quotation scope |
Separate Tooling, Sampling, and Calendar Stages
The supplier should itemize mold or die charges, artwork preparation, 3D modeling, prototype work, finish setup, physical samples, revision allowances, bulk unit price, testing, packaging, and freight. A unit price without these lines can look attractive while leaving the development cost unresolved.
The approval process also needs to be defined. A digital rendering may approve proportion but not weight or finish. A 3D model may approve geometry but not the production material. A physical sample may need separate dimensional, functional, and appearance approvals. I name the approval owner and the number of planned revision rounds, so the supplier can include realistic engineering and sampling time.
The schedule is divided into artwork confirmation, engineering review, tooling, first sample, revision, finish matching, pre-production approval, bulk production, inspection, packaging, and shipping. I identify the target launch or required-arrival date, destination, and preferred delivery term. This is more useful than asking only for “lead time,” because suppliers may otherwise report only the days spent in bulk production.
Finally, I ask who owns the tooling, where it will be stored, how long it will be retained, and whether it can be transferred. The returned quotation should state its validity period and the assumptions behind material, finish, exchange rate, quantity, and delivery. These details make the commercial offer easier to approve and safer to repeat.
Which Testing, Packaging, and Quality Requirements Should You Confirm Upfront?
If testing and packing appear after the price is agreed, the supplier may need to change the material, finish, inspection route, unit cost, or schedule.
I define the target market, performance conditions, acceptance evidence, cosmetic limits, and protection method before I compare final quotations.
Define Performance Before the Supplier Selects the Process
The RFQ should describe how the hardware will be used and what failure must be prevented. Relevant conditions may include skin contact, repeated opening, static or dynamic load, laundering, sweat, rain, humidity, salt, abrasion, coating wear, sharp edges, color transfer, or chemical restrictions.
Vague requests such as “high quality,” “nickel-free,” “anti-rust,” or “strong” do not establish an acceptance standard. If a specific test is required, I state the method, conditioning, sample quantity, tested surface or assembly, acceptance criteria, and required report. If the method is not yet selected, the brief should describe the performance risk and ask the supplier or laboratory to propose a suitable validation route before the quotation is finalized.
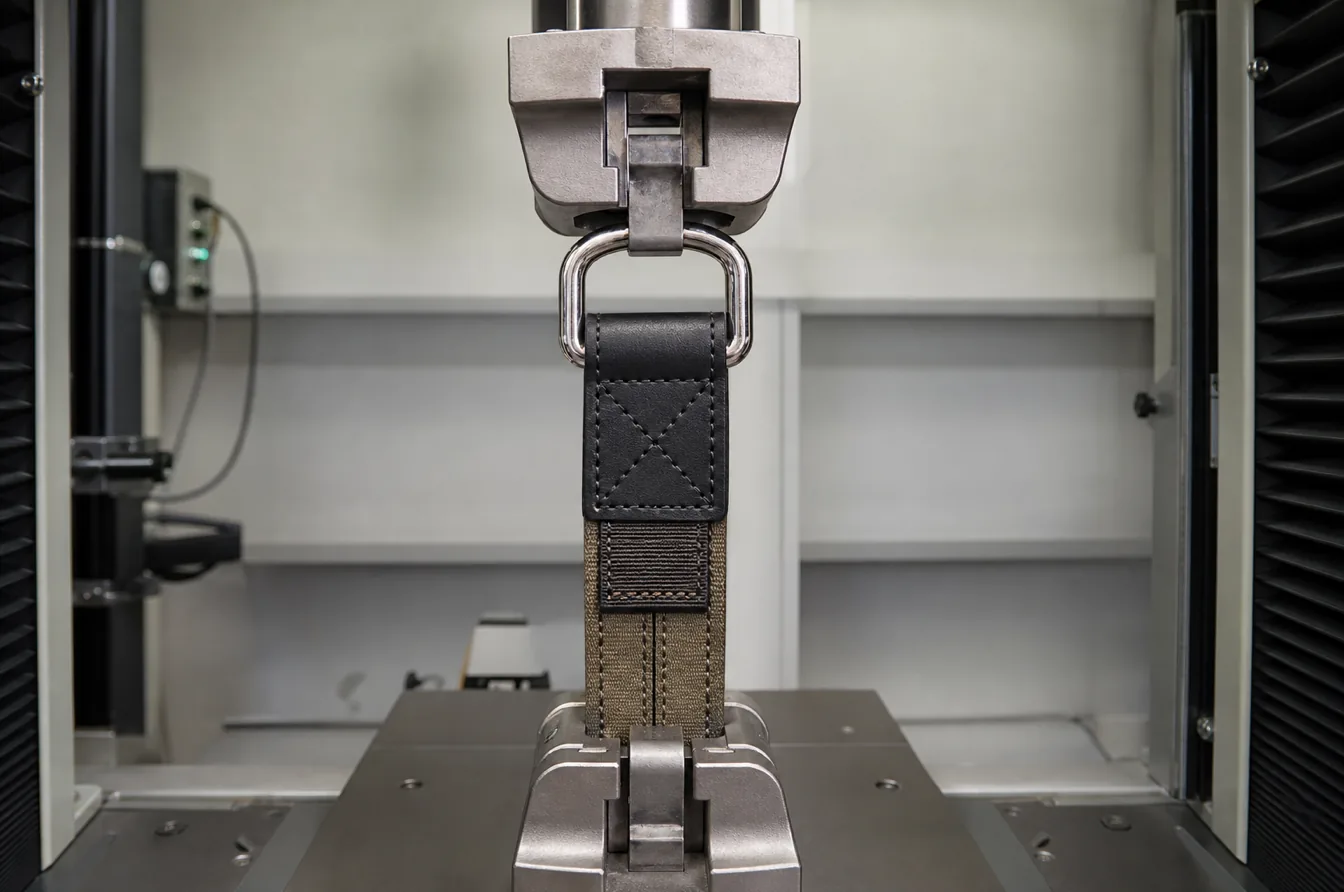
Responsibility for component testing, finished-assembly testing, documentation, and sample preparation must also be clear. A loose hook, ring, buckle, or rivet may pass a component test while the webbing, leather, backing plate, hole, or stitching fails in the finished product. When the interface carries load, I plan validation with production-representative materials and attachments.
| Requirement group | Information I provide | What should appear in the quote |
|---|---|---|
| Functional performance | Load, movement, operating cycles, mating parts, and failure limits | Test scope, sample needs, method, cost, and timing |
| Surface durability | Wear, moisture, sweat, cleaning, corrosion, and appearance limits | Finish route, conditioning, inspection, and evidence |
| Chemical or market needs | Destination market, contact conditions, restricted substances, and documents | Material choice, declarations, laboratory testing, and report cost |
| Cosmetic quality | Approved sample, visible surfaces, color and gloss range, defect limits | Inspection basis, limit samples, and finish-control method |
| Assembly quality | Receiving material, attachment, setting method, and pull-through risk | Installed-sample validation and responsibility split |
Protect the Approved Product Through Packing and Delivery
Packaging forms part of the quality requirement. Metal parts can scratch each other, transfer residue, tarnish, deform, or damage leather and coated surfaces during transport. Small components can also be mixed across finishes or revisions if the packing and labels are unclear.
I specify whether parts need individual bags, protective film, tissue, trays, dividers, counted inner packs, desiccant, anti-tarnish material, or separation by finish and part number. Label, barcode, carton-marking, spare-part, carton-weight, and destination requirements also belong in the brief. When the hardware ships already attached to a product, the packing plan must consider contact between the hardware and the surrounding material during compression and vibration.
For the returned quotation, I request a line-by-line breakdown of unit price, MOQ, tooling, modeling or artwork, samples, finish setup, testing, packaging, production lead time, shipping terms, and quotation validity. The supplier should list every assumption and unresolved specification and identify stock components, modified standard parts, and fully custom parts.
This quotation structure is the final control point. It shows whether competing suppliers priced the same material, finish, attachment, testing, and packaging scope. A lower number is not a better offer when it depends on missing tests, shared tooling assumptions, an unapproved material substitution, or unprotected bulk packing.
Conclusion
I get accurate, comparable hardware quotations by making specifications, open decisions, development stages, quality evidence, packaging, and supplier assumptions visible before price comparison begins.